
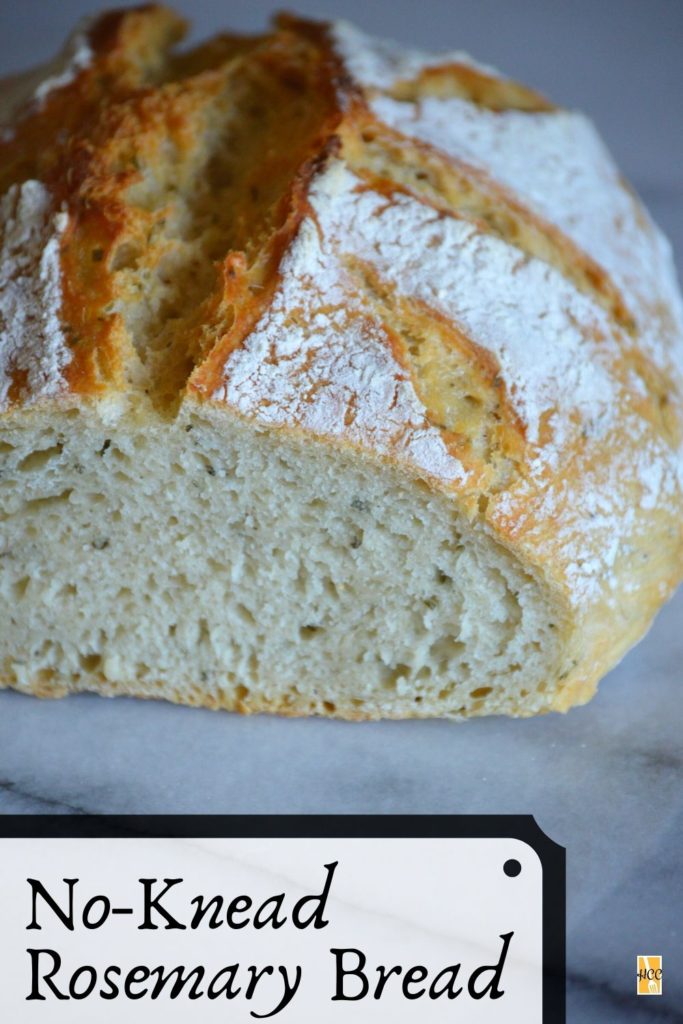
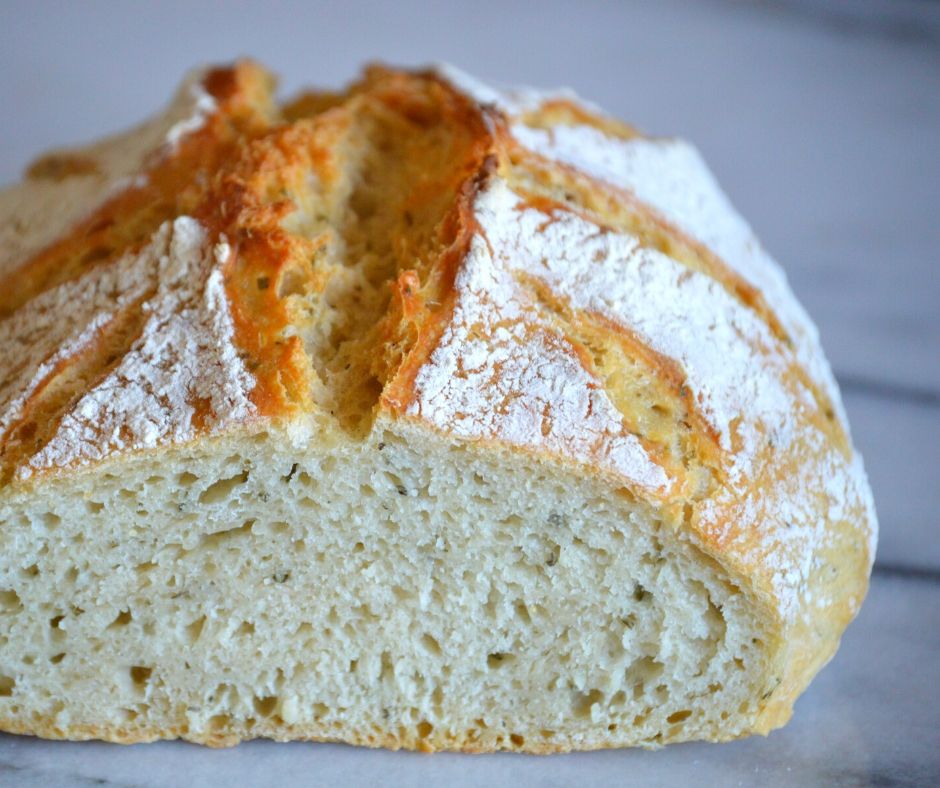
Have you ever used the no-knead method of baking bread? Because if you haven’t then you’re really missing out. You see like many, I have always had trouble baking my own bread at home. It seemed like every recipe I tried required a lot of work and the finished product just never made it worth the trouble. That was until I discovered no-knead bread. It makes perfect bread every time! And today I would like to show you one of my favorite ways to make it with our recipe for no-knead rosemary bread.
So what makes the no-knead method work?
Well as obvious as the name implies, there’s no kneading involved. So you no longer have to worry about whether or not you’ve over kneaded, or under kneaded your bread. 🙂 But that’s not the real secret behind why no-knead bread works. No, no, no. All the credit must go to the object that we’ll be baking our bread in, the humble dutch oven. You see by baking our bread in a dutch oven we can allow steam to build up. And it is with this steam that we are able to create a bread that is fully cooked in the middle, and not burn on the outside. But don’t take my word for it, try it out for yourself with the recipe below.
Tips, Tricks & Suggestions
- While today’s bread is a rosemary bread you can easily swap it out with other things. For example, other types of fresh herbs like oregano, thyme, and sage work great, as does minced garlic. Also, you can omit the herbs completely if you just want plain old bread.
- What sized dutch oven should I use? Well, most recipes for dutch oven baked no-knead bread say that you should have a dutch oven that is at least 3-quarts in size and no larger than 4-quarts. However, I have made this bread in a 6-quart dutch oven with the exact same results. So as long as it’s at least 3 quarts or larger you should be good.
- Do I even really need a dutch oven? Well, yes, but also no. You see the reason why we bake this bread in a dutch oven is that it allows the bread to steam while baking. And without the steam, your bread will either be undercooked in the middle or burnt on the outside. That being said you can achieve steam in your oven by placing an oven-safe container, or pot filled with water in your oven.
- While you can form the bread dough and bake it all in the same day, I highly recommend that you make the dough a day ahead of time. Not only will it allow the yeast to rise a little more, but it will develop a nicer flavor.
- You have the option of scoring the dough before baking it. Not only will it provide a nice texture to the crust it will also make the bread visually pleasing. So if you want to learn more about how to do that then check out this article from King Arthur Flour.
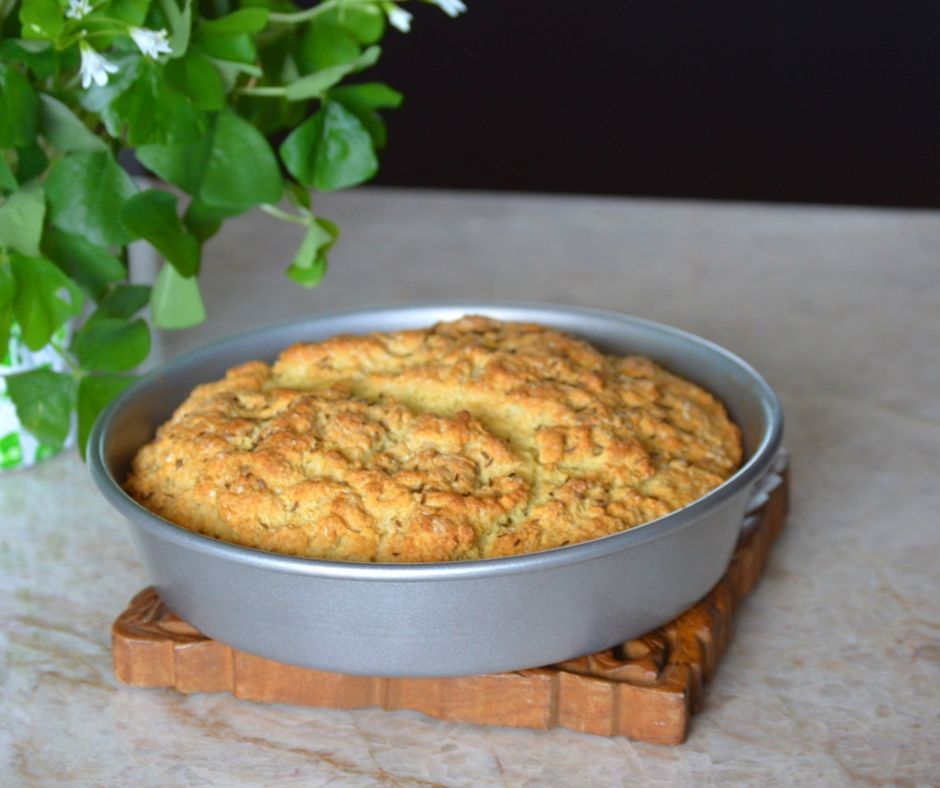
- Try out some of our other types of bread like Irish soda bread, pumpkin bread, and southern style cornbread.
No-Kneed Rosemary Bread Recipe
Prep time: 2 hours (mainly for letting the dough rise)
Cook time: 45 minutes
Servings: 1 Loaf
Ingredients
3 Cups of flour
1 ½ Cups of tepid water
1 Packet of yeast, should be 2 ¼ teaspoon
2 Teaspoons of salt
1 to 2 Tablespoons of minced fresh rosemary leaves
Instructions
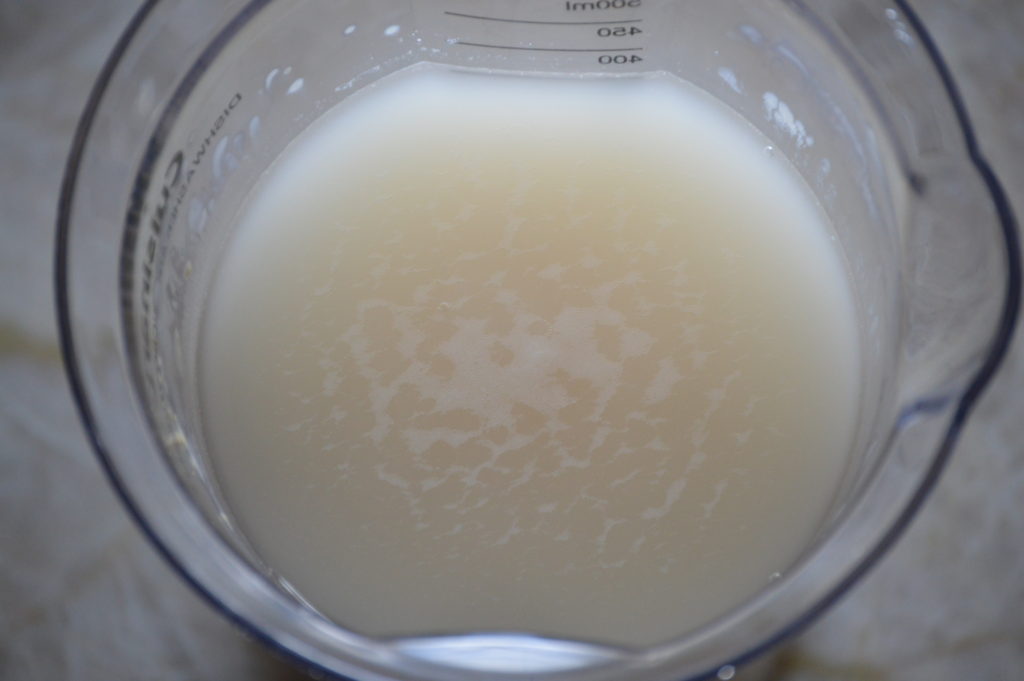
- Activate the yeast: As always, when baking with yeast I find it best to make sure that it is still alive. To do this simply heat up some water and place it in a bowl. Then once the water has reached a temperature between 115 and 100 you can dump the yeast in. Stir it up and wait 5 minutes. If the mixture starts to bubble a little then you know it’s alive and ready.
- Form the dough: Get out a large mixing bowl and add the flour salt and rosemary to it.
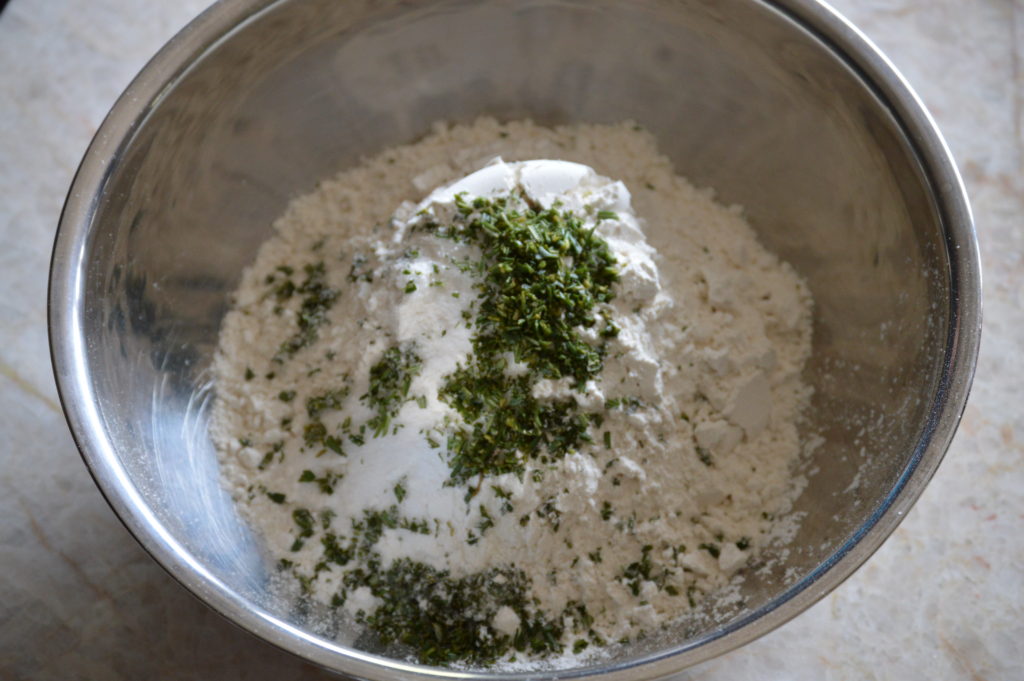 Use a whisk to incorporate the dry ingredients together. Then pour in the water/yeast mixture and combine until a uniform dough is made.
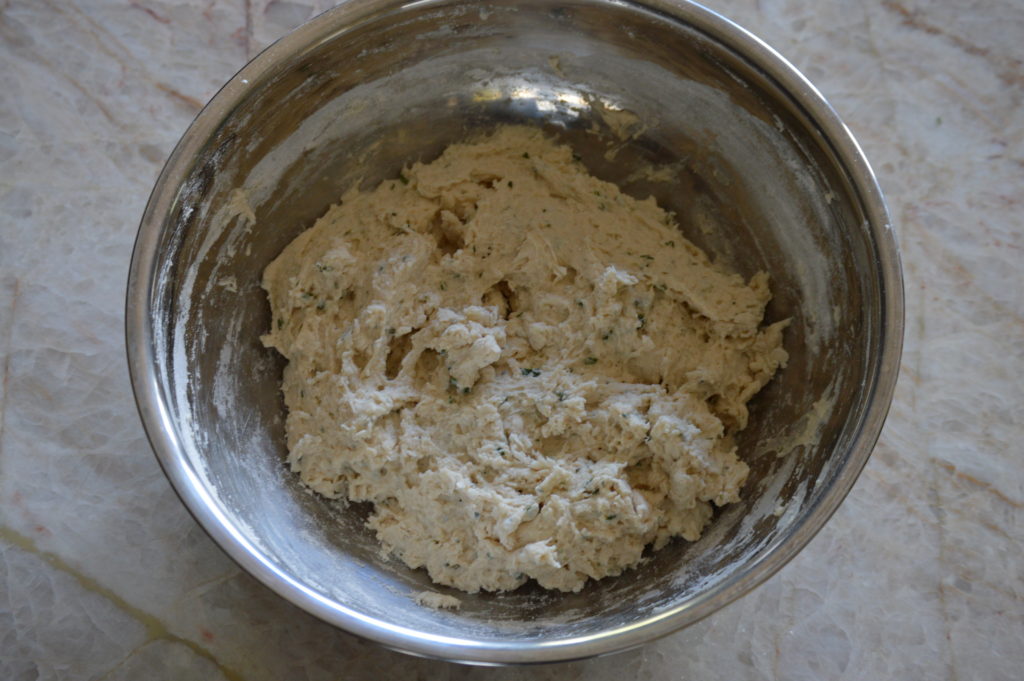
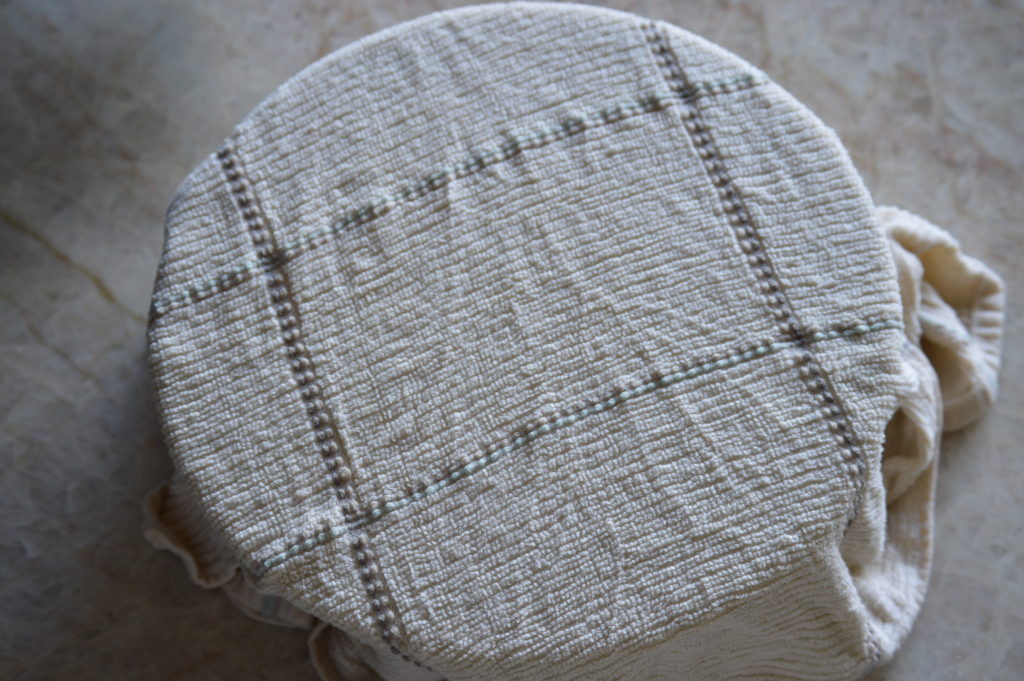
- Let the dough rise: Cover the bowl with a damp towel and let it rise on your kitchen counter for 2 hours.
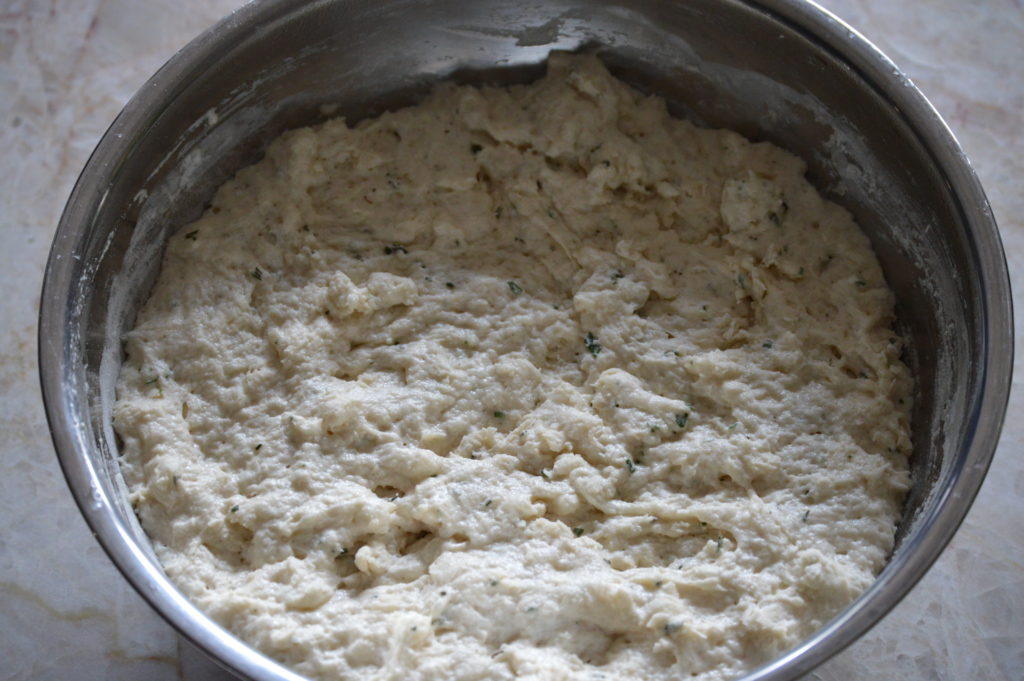 Then you can either move on to the next step or, you can place the dough in your fridge to bake the next day. If you do decide to place it in your fridge then make sure to cover the bowl with plastic wrap. Also, make sure to take the dough out so it can reach room temperature for at least an hour before baking.
- Preheat your oven to 450 degrees Fahrenheit and place your dutch oven in it so that it also gets hot.
- Get the bread ready for baking: Sprinkle some flour on a flat surface and roll the dough in the flour.
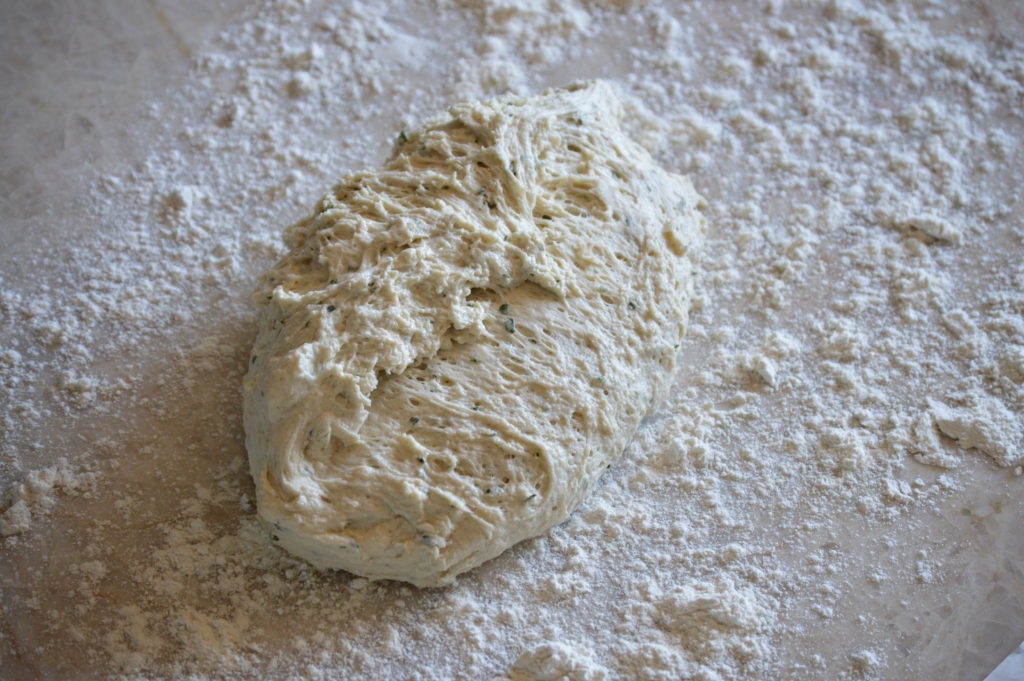 Then get out a piece of parchment paper and place the dough in the center of it. Use your hands to shape the dough into a circle. Then while it’s not necessary you do have the option of scoring the dough at this time.
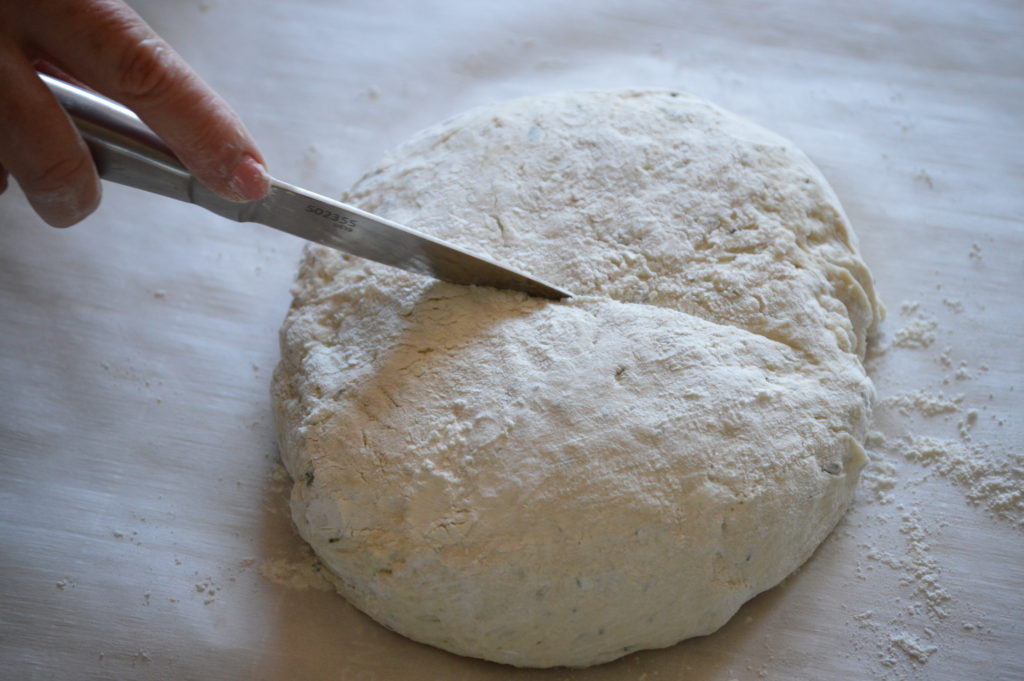 So if you want to learn how to do that then check out the link we have provided in the tips, tricks & suggestions section up above.
- Bake the bread: Get the preheated dutch oven out of your regular oven. Then use the parchment paper to lower the dough into the dutch oven.
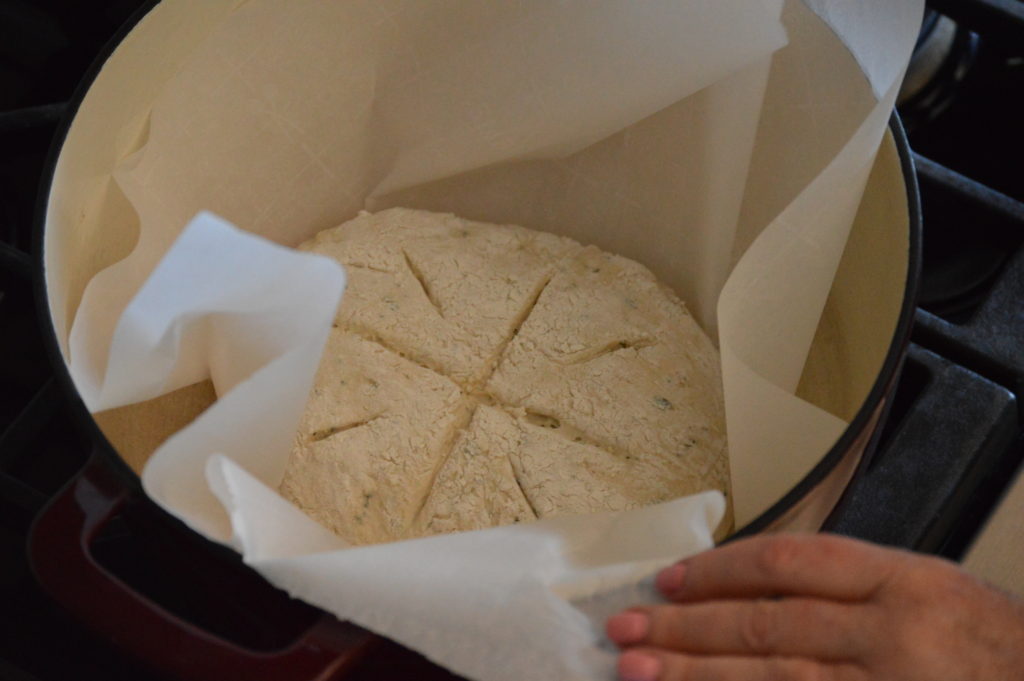 Cover the dutch oven with the lid, place it back into your regular oven, and let the bread bake undisturbed for 30 minutes. Then take off the lid and let the bread continue to bake for an additional 10 to 15 minutes, or until it has become as golden brown as you like.
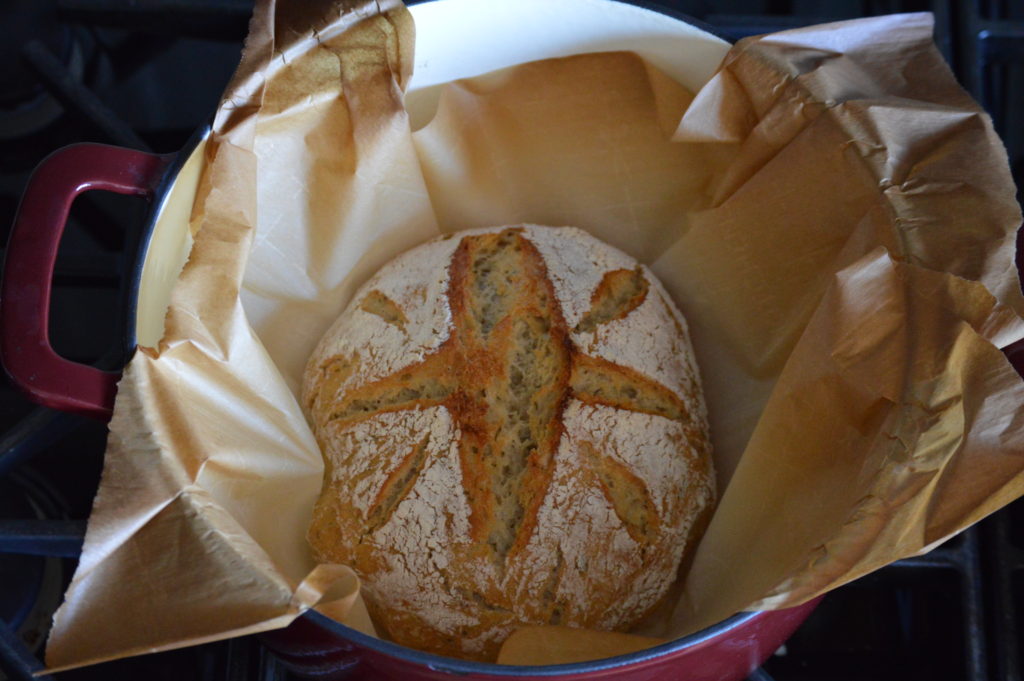
- Let it rest: Use the parchment paper to remove the baked bread from your dutch oven and transfer it to a wire cooling rack. Then let the bread rest and cool down for at least 15 minutes before slicing it.
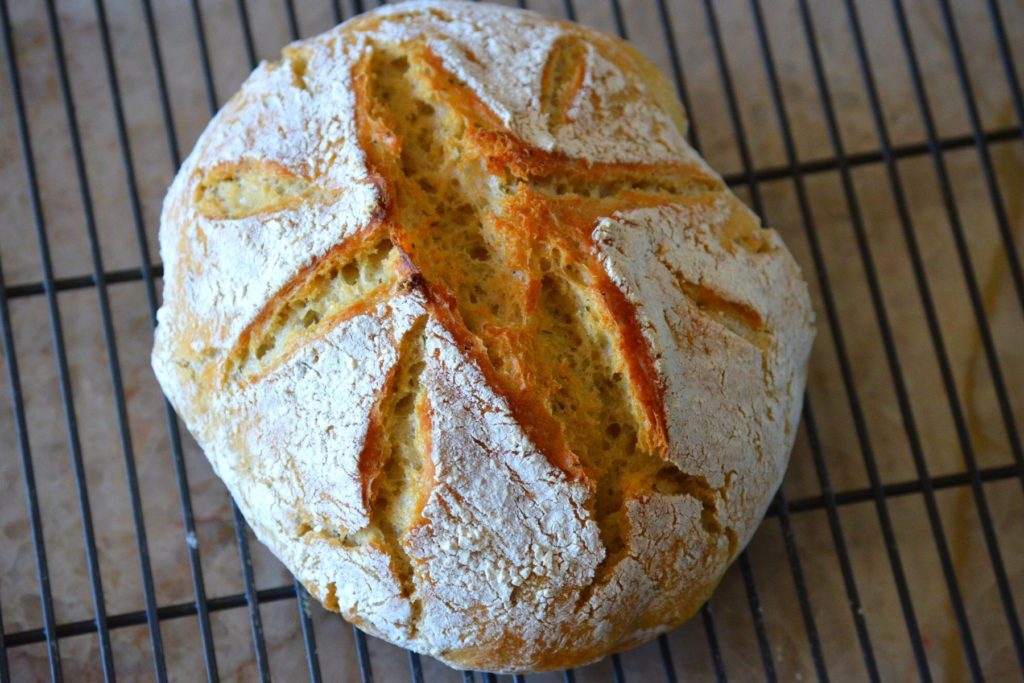
- Slice up your no-kneed bread and enjoy!
No-Kneed Rosemary Bread Recipe
Equipment
- Dutch oven
Ingredients
- 3 Cups of flour
- 1 ½ Cups of tepid water
- 1 Packet of yeast should be 2 ¼ teaspoon
- 2 Teaspoons of salt
- 1 to 2 Tablespoons of minced fresh rosemary leaves
Instructions
- Activate the yeast: As always, when baking with yeast I find it best to make sure that it is still alive. To do this simply heat up some water and place it in a bowl. Then once the water has reached a temperature between 115 and 100 you can dump the yeast in. Stir it up and wait 5 minutes. If the mixture starts to bubble a little then you know it’s alive and ready.
- Form the dough: Get out a large mixing bowl and add the flour salt and rosemary to it. Use a whisk to incorporate the dry ingredients together. Then pour in the water/yeast mixture and combine until a uniform dough is made.
- Let the dough rise: Cover the bowl with a damp towel and let it rise on your kitchen counter for 2 hours. Then you can either move on to the next step or, you can place the dough in your fridge to bake the next day. If you do decide to place it in your fridge then make sure to cover the bowl with plastic wrap. Also, make sure to take the dough out so it can reach room temperature for at least an hour before baking..
- Preheat your oven to 450 degrees Fahrenheit and place your dutch oven in it so that it also gets hot.
- Get the bread ready for baking: Sprinkle some flour on a flat surface and roll the dough in the flour. Then get out a piece of parchment paper and place the dough in the center of it. Use your hands to shape the dough into a circle. Then while it’s not necessary you do have the option of scoring the dough at this time. So if you want to learn how to do that then check out the link we have provided in the tips, tricks & suggestions section up above.
- Bake the bread: Get the preheated dutch oven out of your regular oven. Then use the parchment paper to lower the dough into the dutch oven. Cover the dutch oven with the lid, place it back into your regular oven, and let the bread bake undisturbed for 30 minutes. Then take off the lid and let the bread continue to bake for an additional 10 to 15 minutes, or until it has become as golden brown as you like.
- Let it rest: Use the parchment paper to remove the baked bread from your dutch oven and transfer it to a wire cooling rack. Then let the bread rest and cool down for at least 15 minutes before slicing it.
- Slice up your no-kneed bread and enjoy!
