
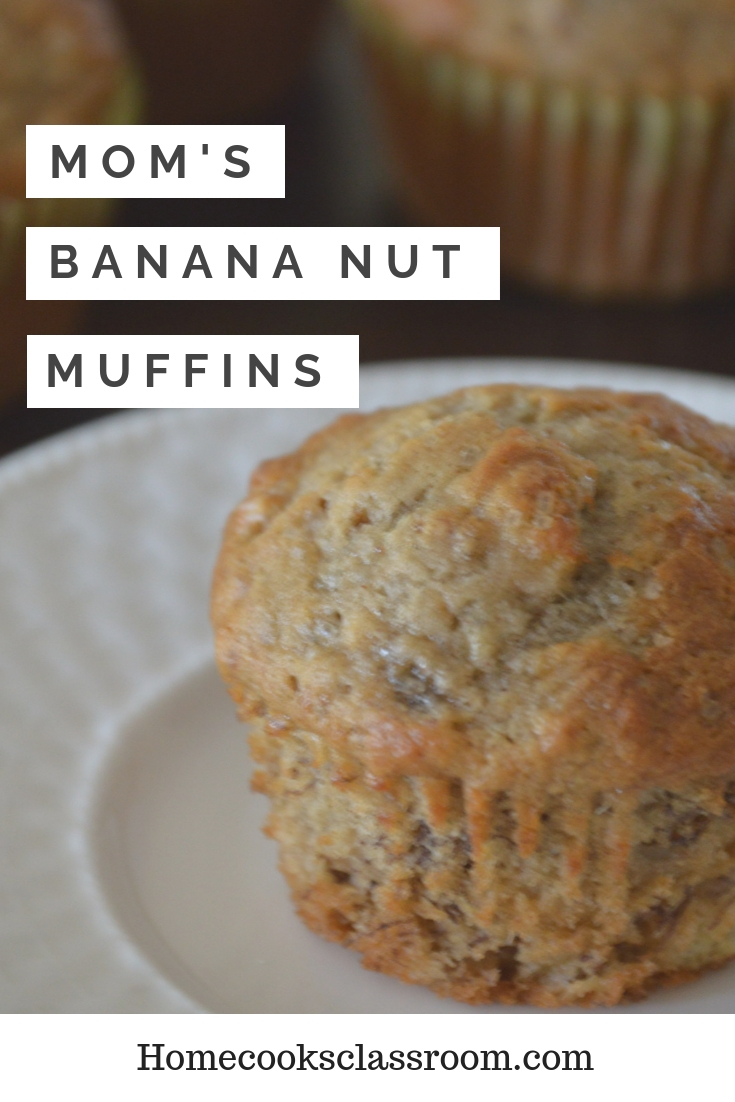
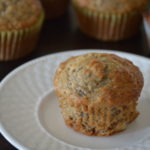
Recently I purchased way more bananas than I could possibly eat within a week. I mean it was something like 12 bananas for like 2 bucks, how could I pass up that deal? Luckily mom didn’t raise no fool, as I knew all along that I was going to take my surplus of overly ripe bananas and turn them into some delicious banana nut muffins!

Banana nut muffins that is. Not only are banana nut muffins a great way to use up any bananas that happen to be more brown than yellow, but in truth, you really can’t make proper muffins without them. This has to do with the fact that overripe bananas are both easier to mash/incorporate into a muffin batter, and they are much sweeter since more of the bananas starch has had enough time to break down into sugar. So never consider purchasing too many bananas as a mistake, and instead, view it as an opportunity for something tasty.
Alright, so if I’ve piqued your interest in banana nut muffins, then let’s spend some time talking shop. I think we already established that you will NEED overly ripe bananas in order to make this recipe, but what about the other main component for these muffins, the nuts. The traditional nut used in banana nut muffins are walnuts, and that is what I prefer to use. However, if you aren’t a big fan of walnuts, then please feel free to substitute them with any other types of nuts such as pecans. Also, if you are someone who has a nut allergy, then simply omit the nuts entirely, you will still end up with some tasty muffins.
Now, when it comes to making the muffin batter, there is one important step that I learned from my mother. You see, while most recipes will instruct you to mix up all of the batter ingredients at once, she recommends that you should never do this. Instead, you should always mix the dry and wet ingredients in separate bowls, before combining them to make the batter.
Why go through this extra step? Well, it’s because adding dry ingredients like baking soda directly to the wet ingredients, will cause that ingredient to form clumps. Not only will these clumps ruin the taste of your muffins, but they can also cause them to not bake properly. So please head this tip wisely and you will have muffin success. Lastly, I recommend that you purchase some baking cups, which are little pieces of aluminum or paper that fit snugly into the crevices of a muffin pan.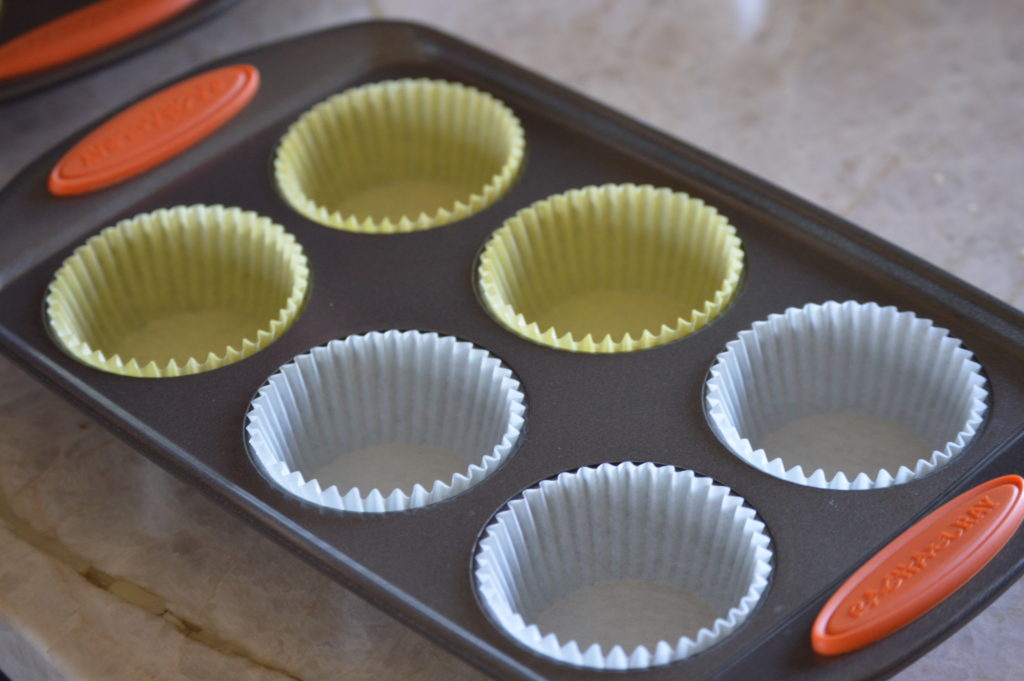 Not only do they make clean up easier, but they also ensure that you never have to worry about your muffins sticking to your pan. Ok, I think that’s about it, so let’s get on with the recipe.
Banana Nut Muffins Recipe
Prep Time: 10 minute
Cook Time: 15 to 25 Minutes
Servings: 14 muffins
Ingredients
4 Old ripe bananas (mashed)
1 ½ Cups of all purpose flour
¾ Cup of white sugar
⅓ Cup of butter (melted)
1 Egg (beaten)
1 Teaspoon of vanilla extract
1 Teaspoon of baking soda
1 Teaspoon a cinnamon
⅛ Teaspoon of salt
1 Cup of chopped walnuts, or pecans
Optional Topping:
Turbano sugar
Instructions
- Preheat oven to 350
- Make the muffin batter: Get out two large mixing bowls. One bowl will be used to mix the dry ingredients, while the other will be used to mix the wet ingredients. You want to mix the dry and wet ingredients separately before combining them, because if you don’t then you can run the risk of the baking soda, and salt-forming clumps. In one of the bowls add the mashed bananas the melted butter, egg, sugar, and vanilla extract, mixing until thoroughly combined.
 Then in the second bowl add the flour, salt, and baking soda, and again mix until thoroughly combined.
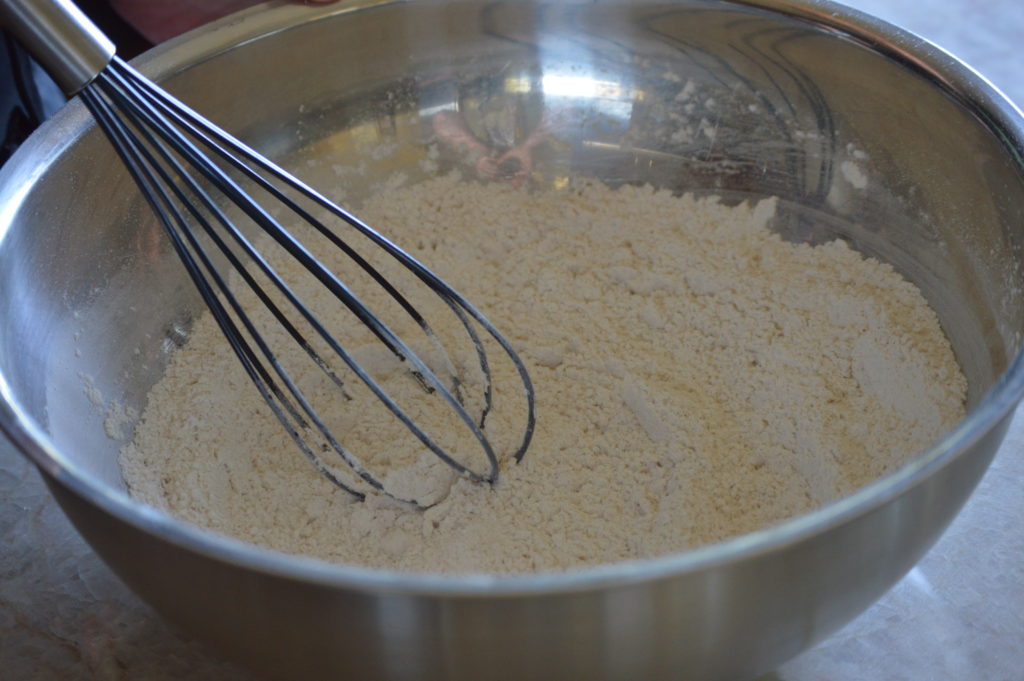 Finally, combine the two by pouring the wet ingredients into the bowl for dry ingredients.
 Mix until they have a consistency of gloopy paste.
- Add the nuts: Slowly fold in the walnuts into the mixture. Make sure to no over mix the batter at this point as it can result in the muffins being less fluffy.
- Add the batter to the muffin tins: For this step, you can either choose to grease the muffin tin, or just use baking cups. To grease the muffin tins simply take a stick of butter and rub it on the insides of every crevice. Next, fill each crevice, or baking cup with the muffin batter so that they are about ¾ full.
 Finally, top this with some of the turbano sugar if you have decided to use it.
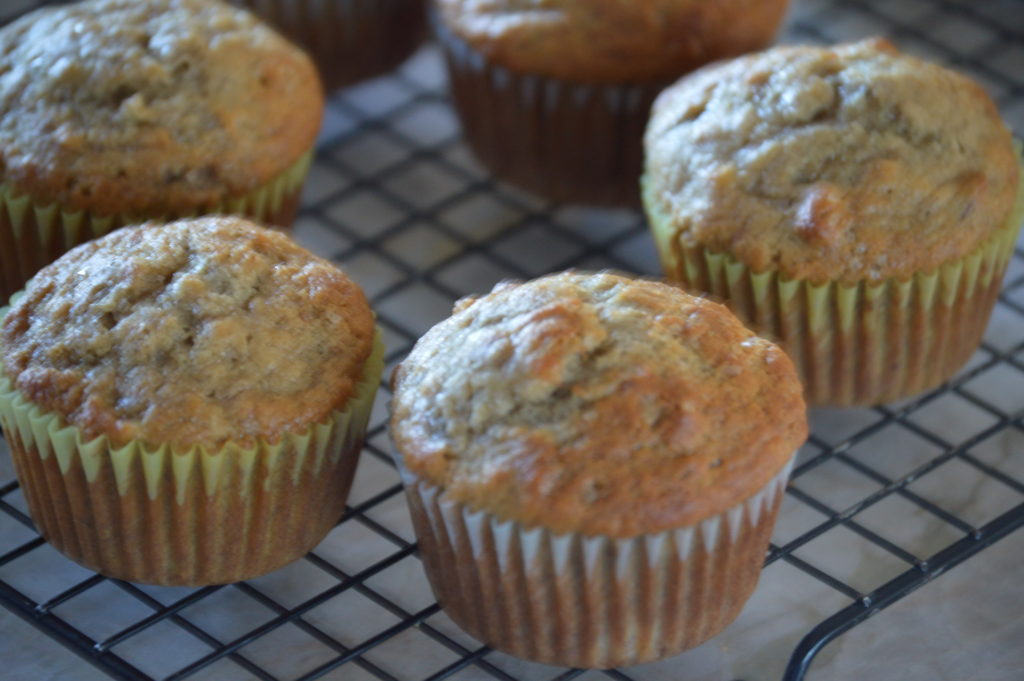
- Bake the muffins: Place the muffins in your preheated oven and let them bake for about 15 to 25 minutes. You will know that the muffins are done once they have achieved a golden brown color and pass the toothpick test.
*The toothpick test is when you stick a toothpick into a baked item. If the toothpick comes out clean then the item is fully cooked, if it comes out with some wet batter sticking to it, then the item needs to bake longer.
- Let the muffins sit: Set the muffins out on your counter to cool off. If you don’t do this then you will run the risk of the muffins falling apart.
- Serve & enjoy
Banana Nut Muffins Recipe
Ingredients
- 4 Old ripe bananas mashed
- 1 ½ Cups of all purpose flour
- ¾ Cup of white sugar
- ⅓ Cup of butter melted
- 1 Egg beaten
- 1 Teaspoon of vanilla extract
- 1 Teaspoon of baking soda
- 1 Teaspoon a cinnamon
- ⅛ Teaspoon of salt
- 1 Cup of chopped walnuts or pecans
Optional Topping:
- Turbano sugar
Instructions
- Preheat oven to 350
- Make the muffin batter: Get out two large mixing bowls. One bowl will be used to mix the dry ingredients, while the other will be used to mix the wet ingredients. You want to mix the dry and wet ingredients separately before combining them, because if you don’t then you can run the risk of the baking soda, and salt forming clumps. In one of the bowls add the mashed bananas the melted butter, egg, sugar and vanilla extract, mixing until thoroughly combined. Then in the second bowl add the flour, salt, and baking soda, and again mix until thoroughly combined. Finally combine the two by pouring the wet ingredients into the bowl for dry ingredients. Mix until they have a consistency of gloopy paste.
- Add the nuts: Slowly fold in the walnuts into the mixture. Make sure to no over mix the batter at this point as it can result in the muffins being less fluffy.
- Add the batter to the muffin tins: For this step you can either choose to grease the muffin tin, or just use baking cups. To grease the muffin tins simply take a stick of butter, and rub it on the insides of every crevice. Next, fill each crevice, or baking cup with the muffin batter so that they are about ¾ full. Finally, top this with some of the turbano sugar if you have decided to use it.
- Bake the muffins: Place the muffins in your preheated oven and let them bake for about 15 to 25 minutes. You will know that the muffins are done once they have achieved a golden brown color and pass the toothpick test. *The toothpick test is when you stick a toothpick into a baked item. If the toothpick comes out clean then the item is fully cooked, if it comes out with some wet batter sticking to it, then the item needs to bake longer.
- Let the muffins sit: Set the muffins out on your counter to cool off. If you don’t do this then you will run the risk of the muffins falling apart.
Inspiration from other blogs
From Simply Recipes
