
Hello class, and welcome to part 2 of our lessons on knives. In our last lesson, we discussed the many different types of knives used in the kitchen, and what they were generally used for. In today’s lesson, we will be discussing knife safety, how to properly slice with a chef’s knife, and the main types of cuts used in the kitchen. So, let’s get into it!
Knife safety
Learning how to safely use a kitchen knife is a fundamental cooking skill. That is unless you don’t care about losing a finger or two, then go ahead and forget about it. Ok, enough joking, you honestly need to learn it, so here are my three rules for knife safety.
Rule 1: The first rule of knife safety, oddly enough, is to make sure that you take the time to maintain your knife’s sharp edge. Now you might be thinking, “Wait? Wouldn’t a sharper knife cut my fingers more easily?”. Well technically yes, but statistically a sharper knife is less likely to sip off of the food that you are cutting and thus cut you. So maintaining a sharp edge on your kitchen knives does make them safer.
Rule 2: The second rule is a no brainer, just take your time. I know a lot of you often see professional cooks on tv programs, just cutting up everything rapidly like it’s nobody’s business. And I have to admit it’s cool and all, but seriously just take your time. You are not a line cook in a 3 Michelin star restaurant, so chances are that you will not be fired if it takes you 5 minutes to dice up an onion.
Rule 3: The third and last rule, is to use a proper position when holding your knife and the food you are cutting. When it comes to holding your knife, always make sure that you have a firm grip, on the handle, making sure that all of your fingertips are below the bolster. Your food, on the other hand, should always be held in a claw position, with the tips of your fingers tucked away from the area that you are about to cut.
How to properly slice with a chef’s knife
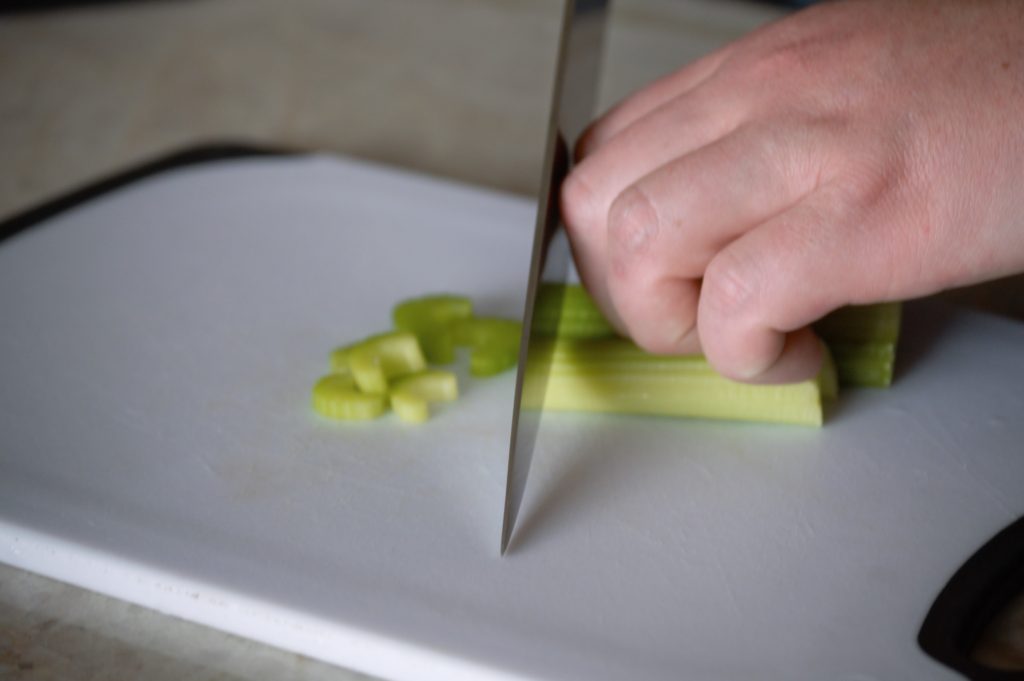
As we discussed in part 1, the most important knife for you to learn as a home cook is the chef’s knife. If you take the time and learn how to use this knife properly, then you should be able to make just about any cut that you want. However, there is one specific technique that I recommend you learn to use with a chef’s knife. I am talking about the Choo Choo Train technique. Now, I’m not sure if Choo Choo Train is the official term for this technique, but I have always referred to it as such because essentially you will be moving the knife like the rotation of the wheels on an old train. It looks like this.
This type of cut is possible with a chef’s knife, because of the curvature of its edge, which is a unique quality of the knife itself. Now I know I just told you above that one rule for knife safety is to take your time cutting. But once you get more comfortable with knives, and you want to cut as fast as a professional chef, then this is the technique that you will need to master.
The main types of cuts
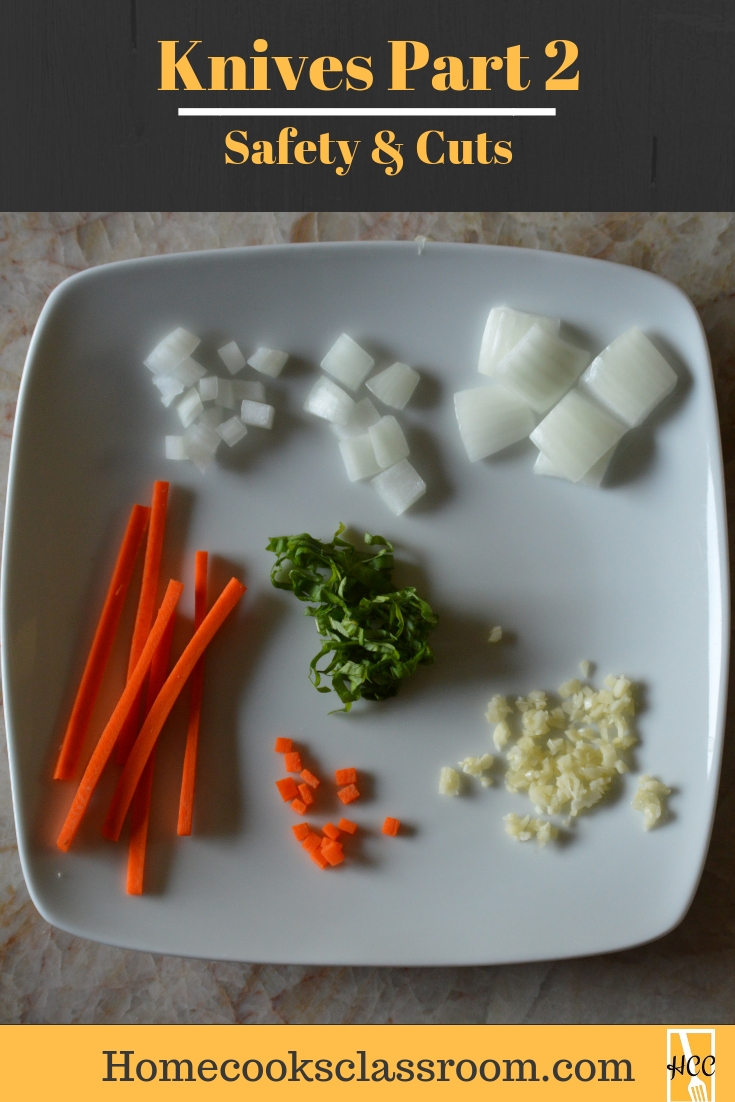
There are a number of different types of cuts that you will end up using in the kitchen, some of which are “official”, while some are “unofficial”. The official ones come from the classical French tradition and tend to be way more specific in their dimensions than you would need to know for use in the home kitchen. However, for all of you cooking nerds, I have decided to list the official dimensions that would be required for these cuts, but really trying to make them that exact is just overkill in my opinion. The unofficial cuts, on the other hand, are cuts that we home cooks tend to talk about in our recipes, so their definitions can differ from cook to cook. Below I have listed 9 common types of cuts that I feel you should get familiar with.
Official Cuts
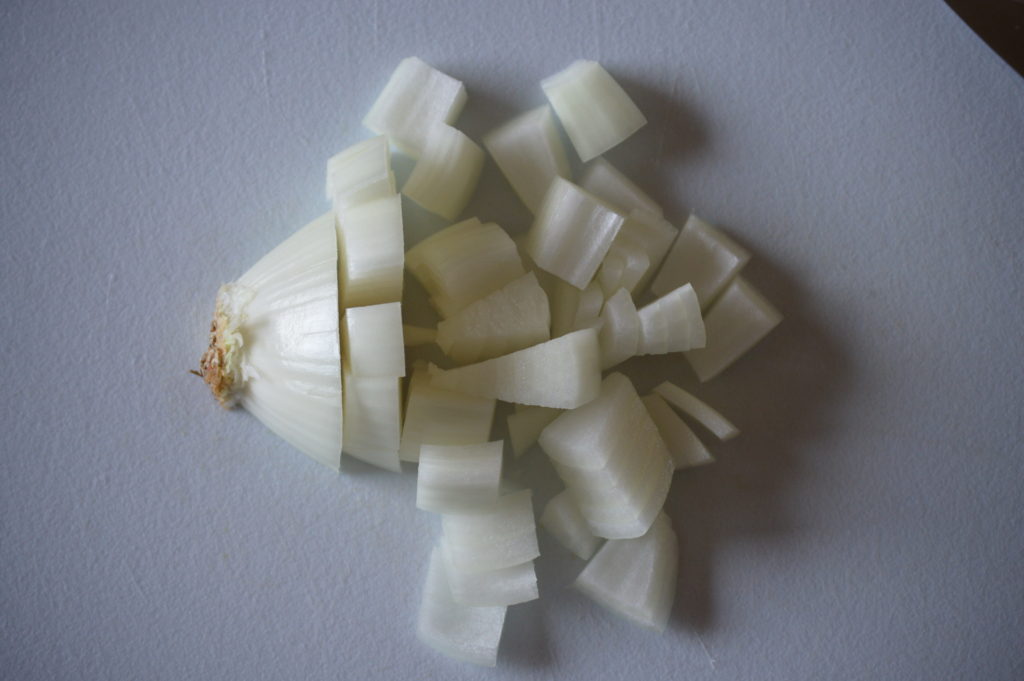
- Dice – Dice is arguably the most important of knife cuts that you can learn. Essentially it is when you take a piece of food and cut it into cubes, or “dice” hence its name. The dice cut can come in varying degrees of sizes, such as small, medium, and large. Now when I refer to small, medium, or large dice, in my recipes, I’m really not talking about any specific dimensions, it’s just more of a feel thing. Yet, as I said, I have decided to appease the cook nerds and have listed the “official: dimensions for these cuts below.
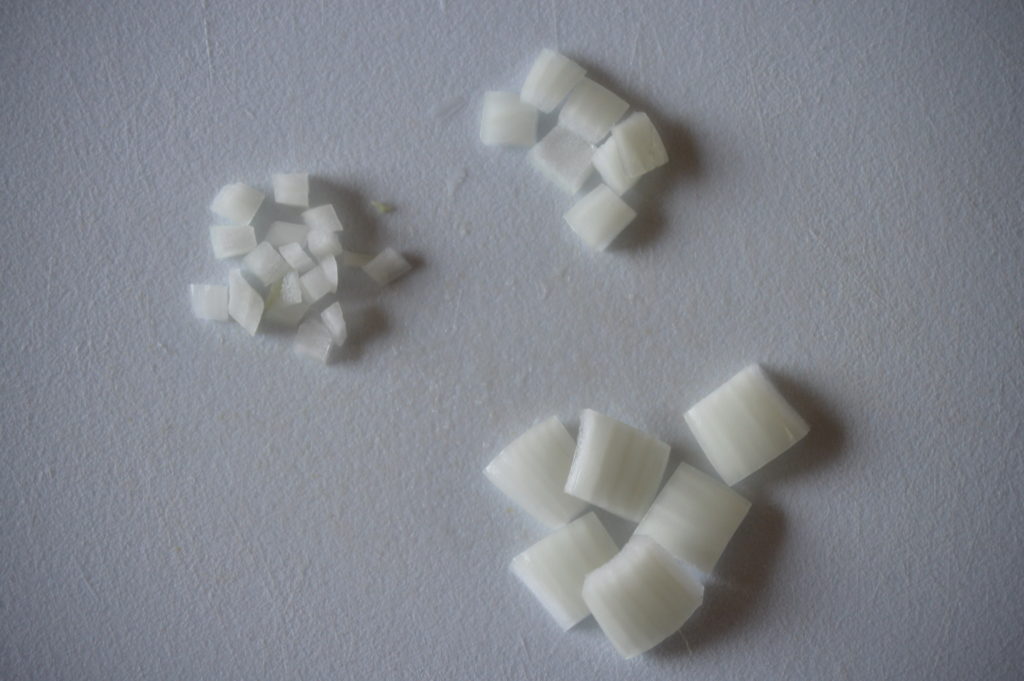
Large – A large dice, also known by its French name “Carre”, should be approximately ¾ inch or 2 cm in size.
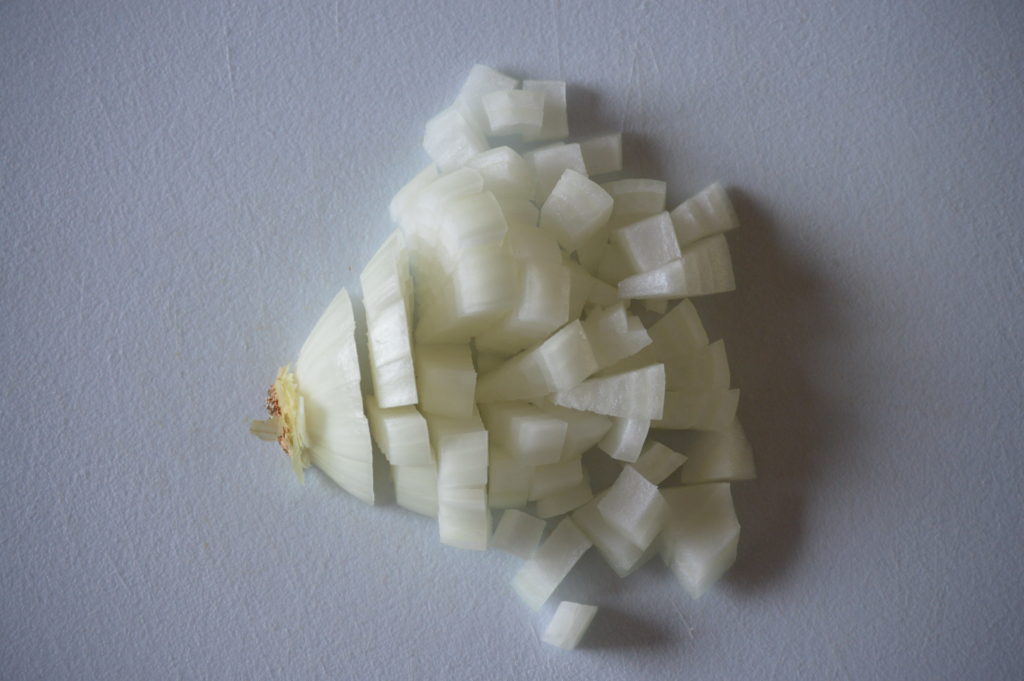
Medium – A medium dice, also known by its French name “Parmentier”, should be approximately ½ inch or 1.24 cm in size.
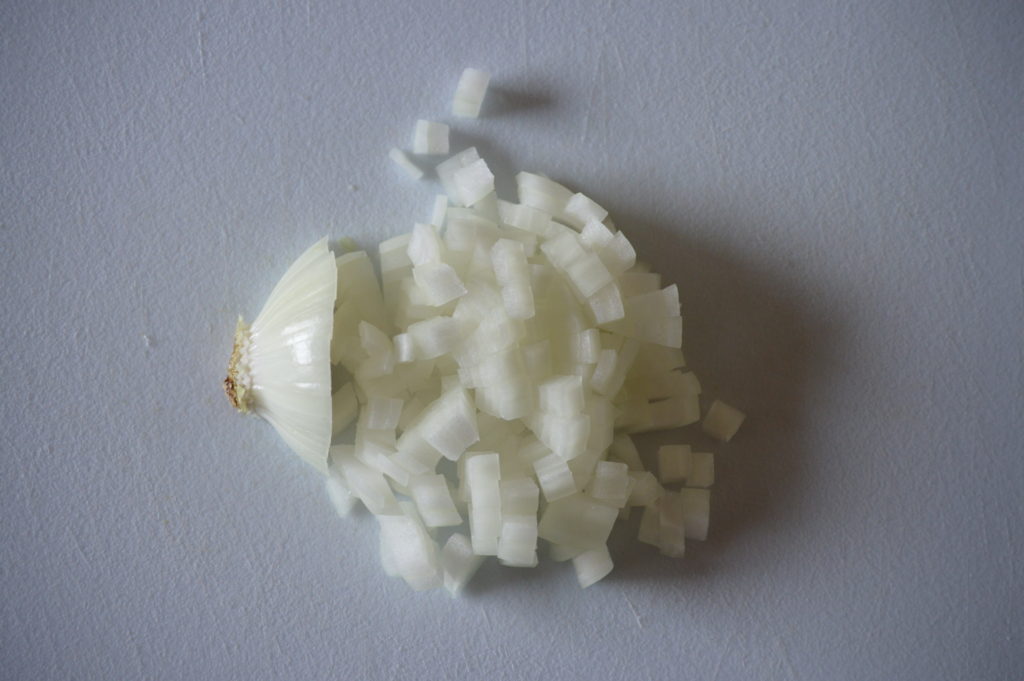
Small – A small dice, also known by its French name “Macedoine”, should be approximately ¼ inch or 6 mm in size.
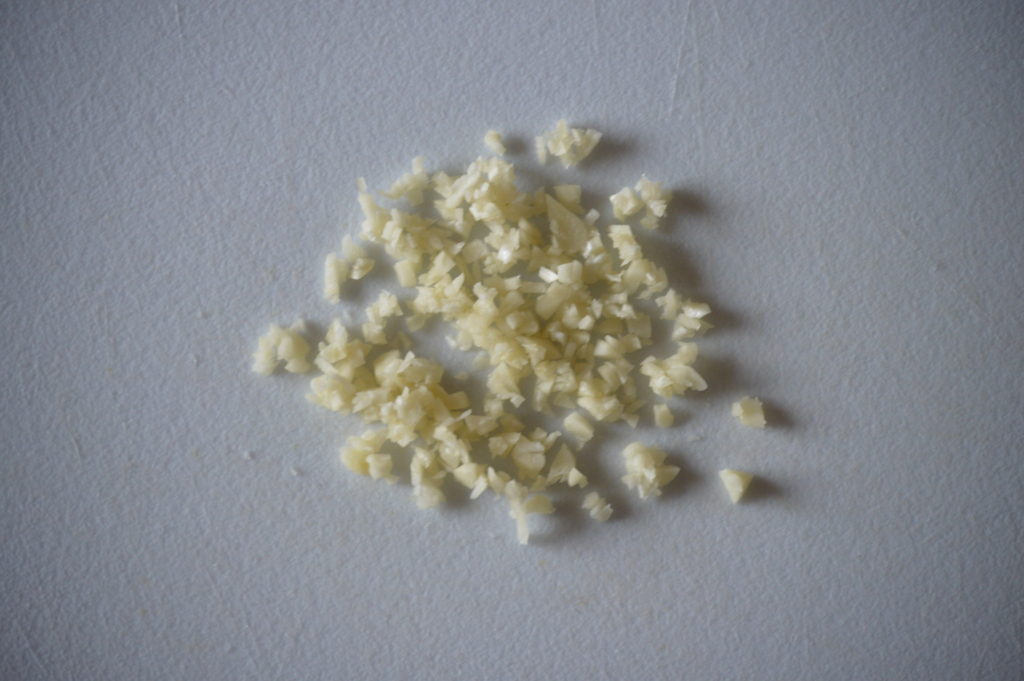
- Mince – After dice, I would say that mince is the most important cut that you should know and use. Often this type of cut is used for aromatic ingredients such as garlic, or ginger, but it can be used for just about anything. Essentially mincing is chopping up a piece of food into really small pieces, and is the only “official” cut that doesn’t require a uniform size. These small pieces allow for an ingredient to become better dispersed throughout a particular dish.
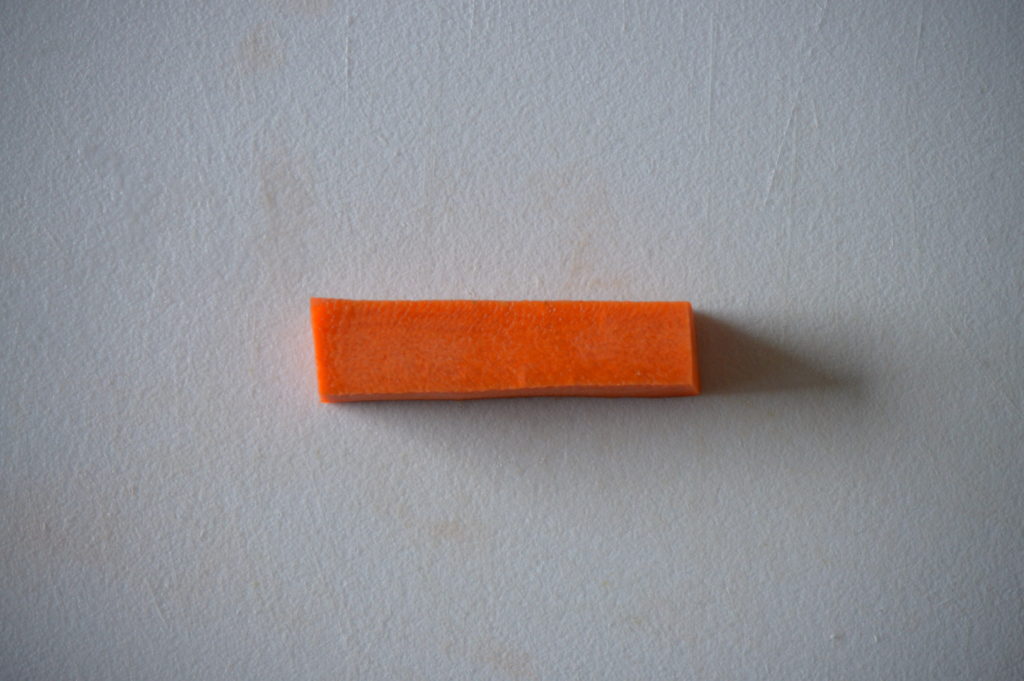
- Batonnet – This cut is the starting point for both the following cuts, julienne, and brunoise. Batonnet is French for “little stick” which refers to the fact that the cut resembles, well, a little stick. In the strictest sense, a batonnet cut should measure approximately ¼ inch x ¼ inch x 2.5 inches or 6mm x 6mm x 6 cm. But come on, who has the time to whip out a ruler for that?
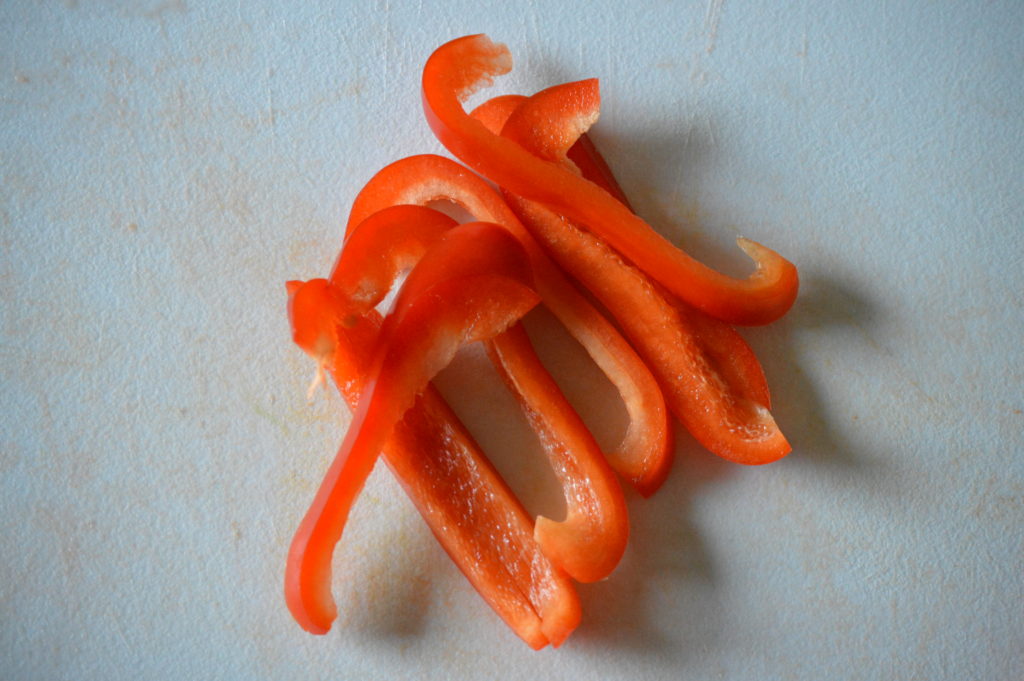
- Julienne – This cut is essentially a thinner version of batonnet, and is often referred to as a matchstick cut. The official dimensions of a julienne should be approximately ⅛ inch x ⅛ inch x 2.5 inches or 3mm x 3mm x 6 cm. However, most people, myself included, typically use this term to refer to any type of food that is cut into long strips, such as potatoes when making french fries.
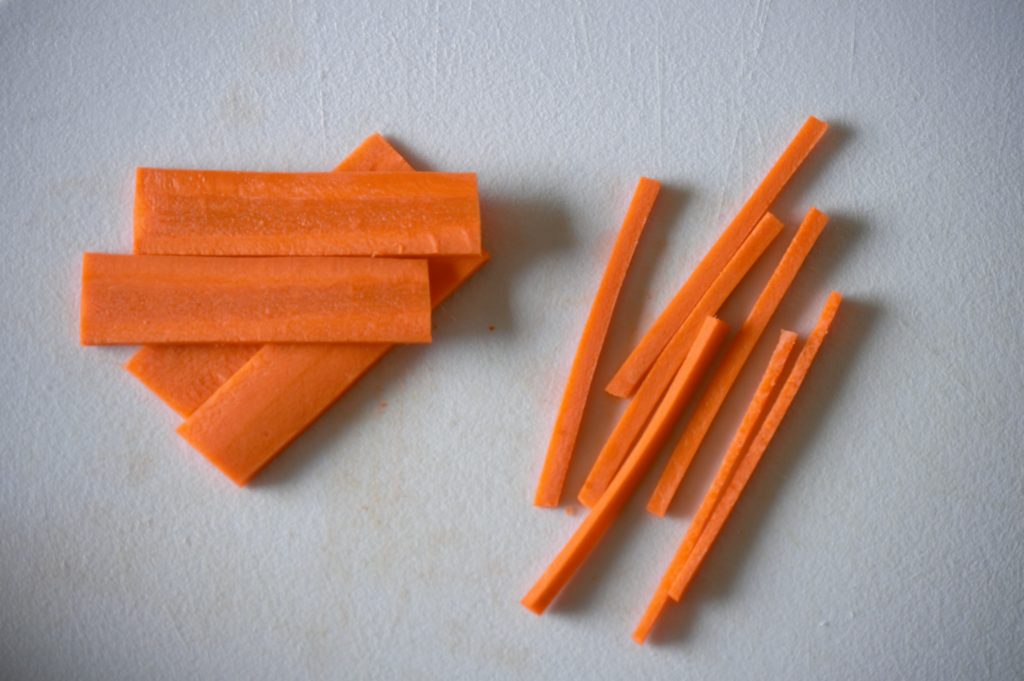
Julienne is the one on the right
- Brunoise – You make this cut by taking an item that you have julienned, turning it on its side, and cutting it into very small cubes. In essence, it is just a very fine dice and is typically used to make garnishes. The official dimensions for a brunoise is a ⅛ inch or 3mm dice.
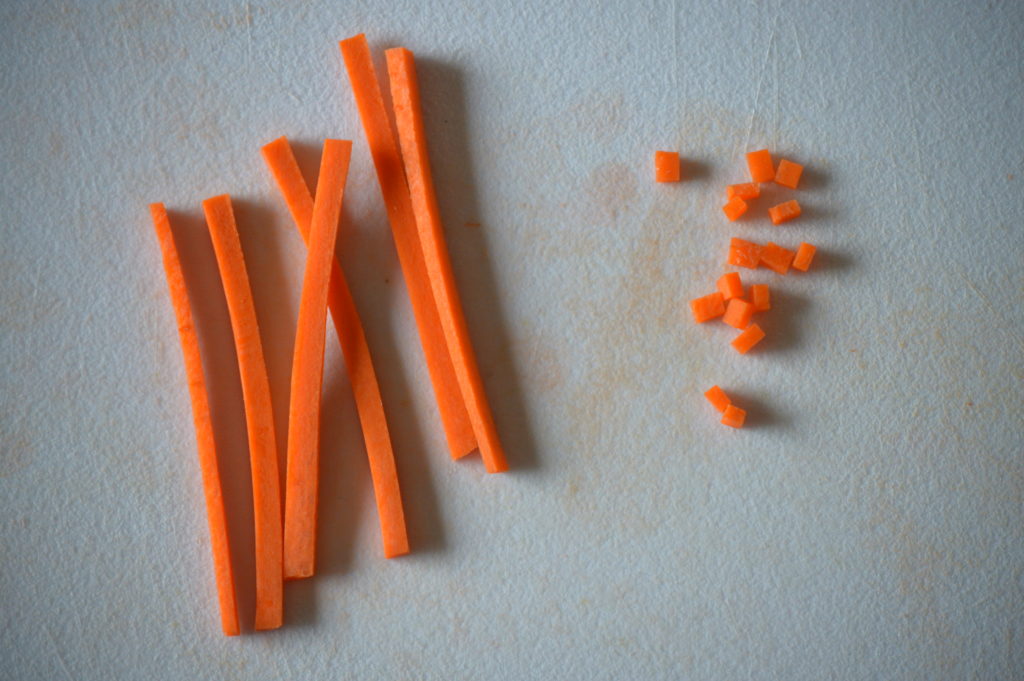
Brunoise is the one on the right
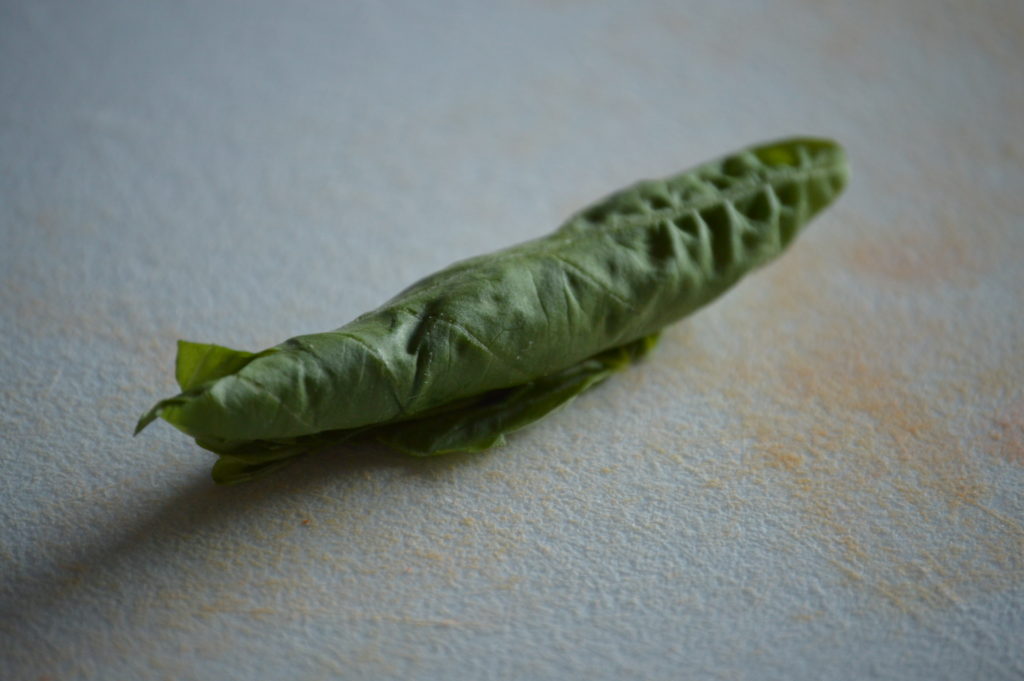
- Chiffonade – Translated as “little ribbons” in French, this cut is used to make strips from leafy greens such as spinach or chard, but I most often use it to slice basil. To create this cut you first need to stack the leaves on top of each other, and then tightly roll the leaves until it resembles a cigar. After this has been done, you simply make slices in the rolled leaves so that it makes strips.

Unofficial Cuts
- Rough chop – This cut is the epitome of the type of cutting terminology used by home cooks. What constitutes a rough chop can vary greatly from cook to cook, as there is no official definition. However, when I talk about a rough chop, essentially I am saying that you should cut up the ingredient into indiscriminate sized chunks.
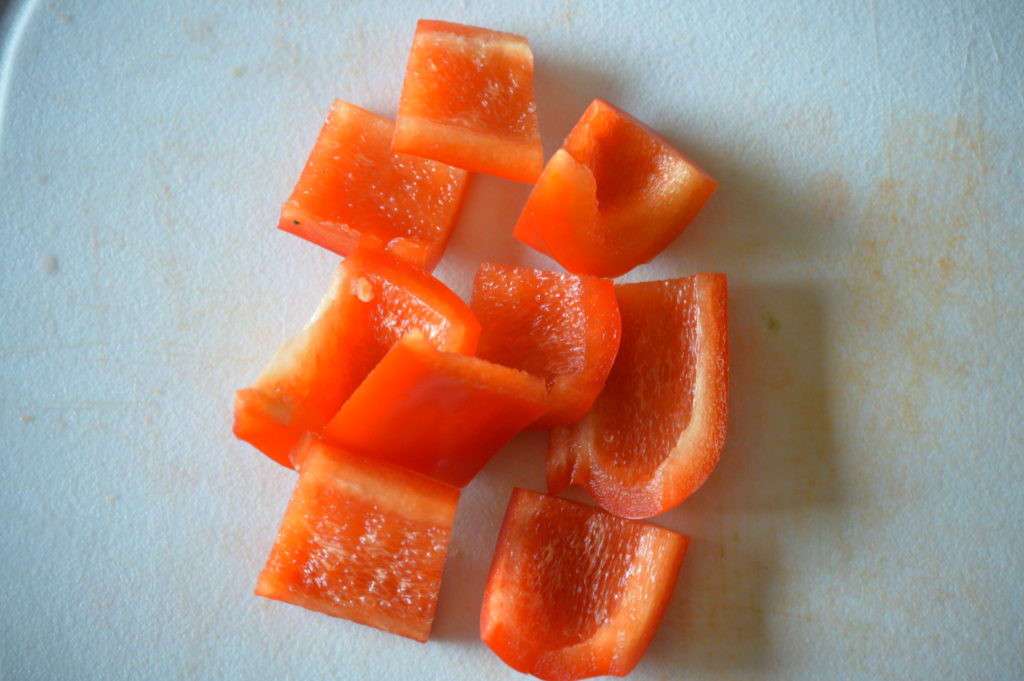
- Slice – This cut is very similar to a julienne cut, in the sense that you are making thin strips. However, I tend to use this term when cutting up ingredients that would be impossible to make into the uniform sticks of a julienne, such as slices of onions, or bell peppers.
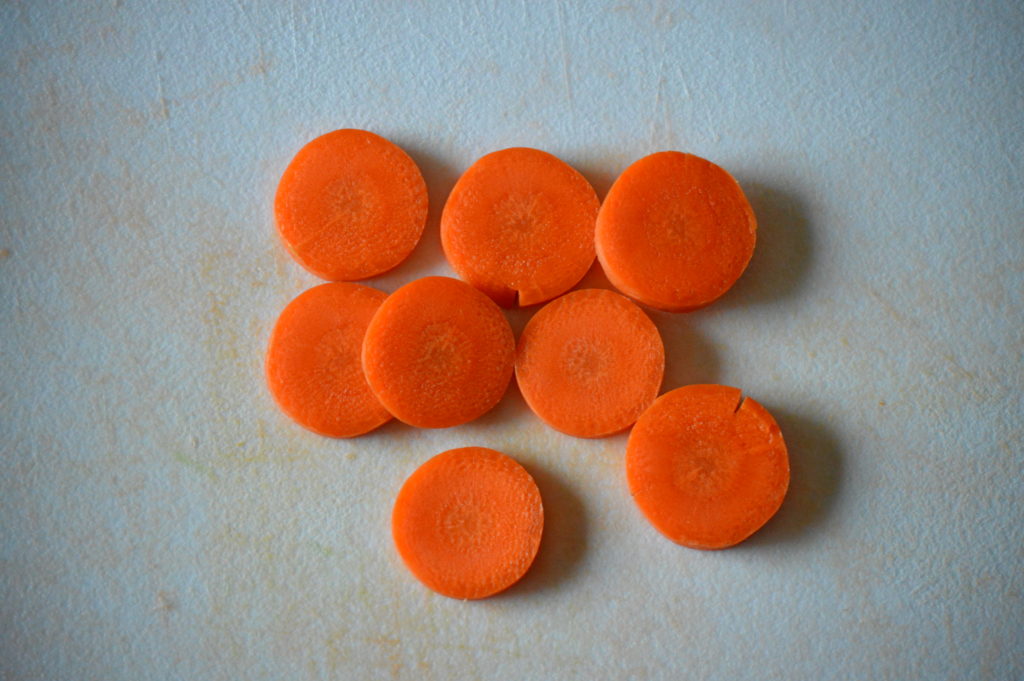
- Coin – This cut is typically used for items of food that are both long and cylindrical, such as carrots, or cucumbers. When you make the cut you end up with something that resembles a coin, thus the name.
<<< Back to Part 1: Anatomy & Types Next Lesson Part 3: Maintenance>>>
Additional reading
From The Culinary Cook
