
Hello class, today I want to discuss one of my favorite techniques for the grill, wood planking. No, I’m not talking about that stupid social media fad that happened a couple of years ago (you know the one I’m talking about), I’m talking about the method of using planks of untreated wood to grill meats. It’s a practice that was first developed by the Native Americans of the Pacific Northwest and has remained immensely popular in that region of the country for centuries. Thankfully the technique is no longer a regional secret and has spread both in popularity and use over the past couple of decades. And for good reasons. You see, not only is grilling on a wood plank a simple way for one to add depths of flavor to a dish, but it is also incredibly easy to do. Just place whatever you want to cook on a wood plank, plop that on a hot grill, and just let it cook, no need for flipping the meat, or worrying that it might be getting overly burnt. Also at the end of grilling, the clean up is as simple as tossing out the used wood plank, that’s it. So if you are like me, and always looking for new things to add to your cooking repertoire then continue on to today’s lesson.
What can I cook on wood planks?
Alright, so I figured that before we dived into the HOW of grilling with a wood plank, it would be a good idea to talk a little bit about what you CAN grill on a wood plank. And the honest answer is literally anything. There are no laws of either man or god dictating what you can and can not cook on a wood plank, and trust me I’ve seen a lot of creativity being applied to this technique. However, just because you can, doesn’t always mean you should, as there are some things that tend to be better suited for this technique.
Probably the most common food item that is cooked on wood planks is fish, specifically salmon. However, this has as much to do with the abundance of salmon in the Pacific Northwest, then it has to do with its suitability. Personally, I find that this technique is best applied when cooking any species of fish with delicate flesh, such as trout. This is because of the fact that cooking on a wood plank requires no flipping, and thus there is no way for the piece of fish to fall apart. Another popular food item that I have seen cooked on wood planks is chicken breasts. However, due to the long cooking time of chicken breast, you can run the risk of your wood planks spending too much time over the grill and catching fire. So, I recommend when you first start out with this technique that you try to stick with fish at first and then expand out to other things once you get more comfortable.
Types of wood
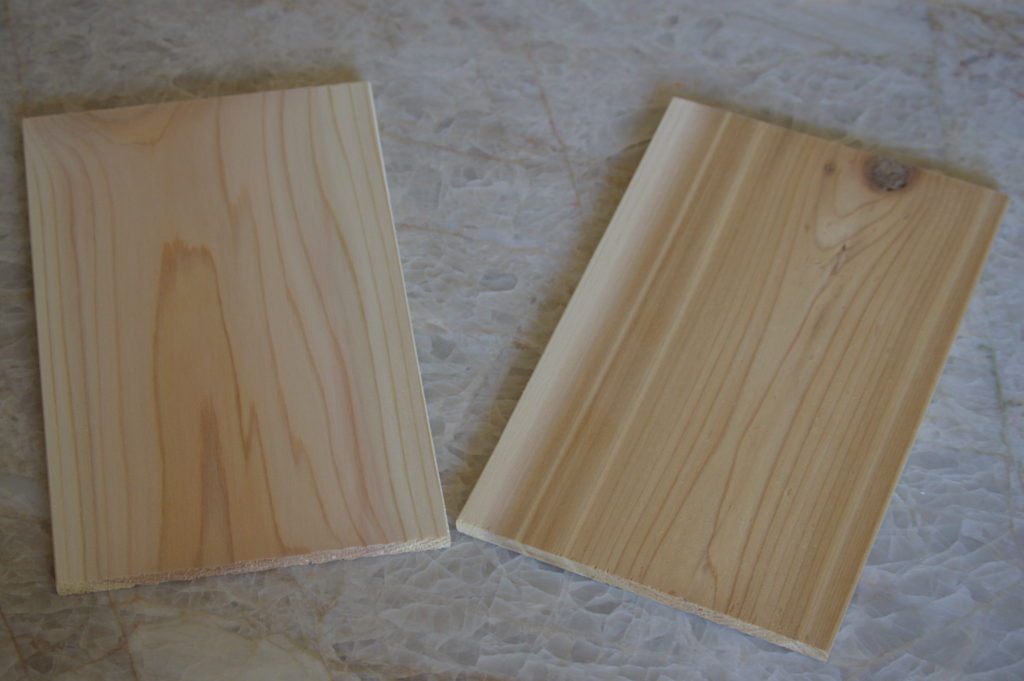
It is also important that we talk a little bit about the different types of wood that are used for wood plank grilling. Traditionally the most common type of wood used is cedar, which just like the prolific use of salmon isn’t necessarily indicative of the best way to do it, but rather what was most available. That being said I do prefer the aroma and taste that cedar brings when compared to the other types of wood. Besides cedar, the other popular species of wood you can find are maple, hickory, and alder. Hickory, like cedar, will often give a dish a strong, and deeply smoky flavor, while alder and maple are milder, and provide a slightly sweet flavor. No matter which species of wood you decide to use, just make sure to get untreated wood, either from a professional grilling plank provider or from a lumber yard.
Prepping the planks
Unfortunately, despite what I said in the intro above, you can’t just go and throw a piece of meat on a plank and then plop it on the grill. You always have to properly prepare the planks first. Don’t worry though as all you need to do is soak the planks in water so that they don’t turn to ashes during the grilling process. While there are many ways to go about soaking the wood planks, I have found that the easiest way is to use two different sized, but large baking dishes. 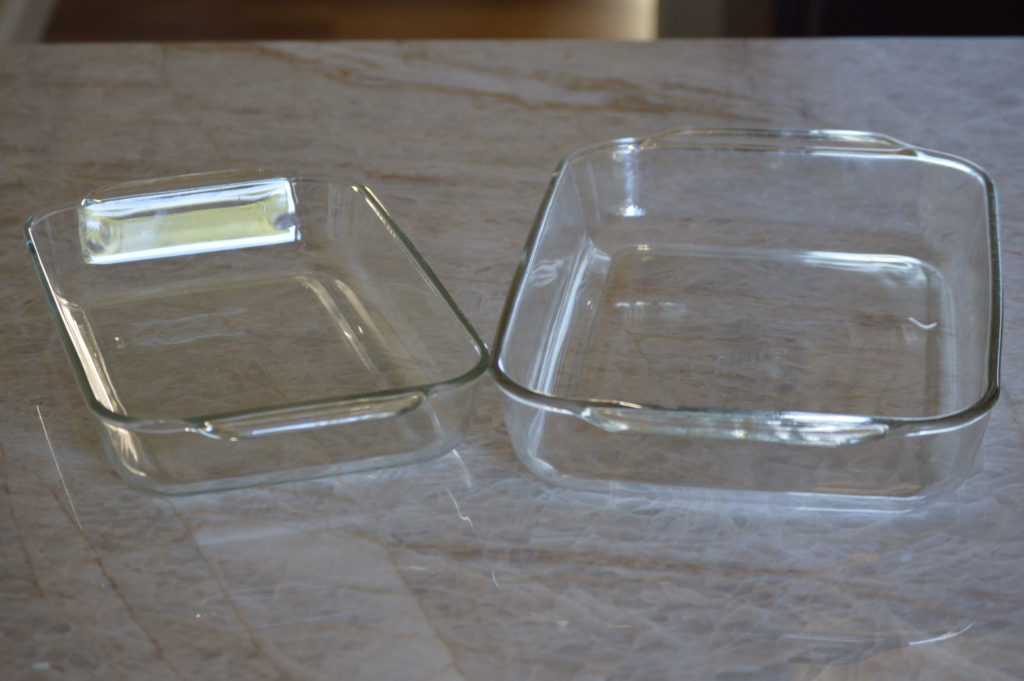 All you have to do is fill the larger one with water, place the planks in it, and then fill the smaller one with water, and place it on top.
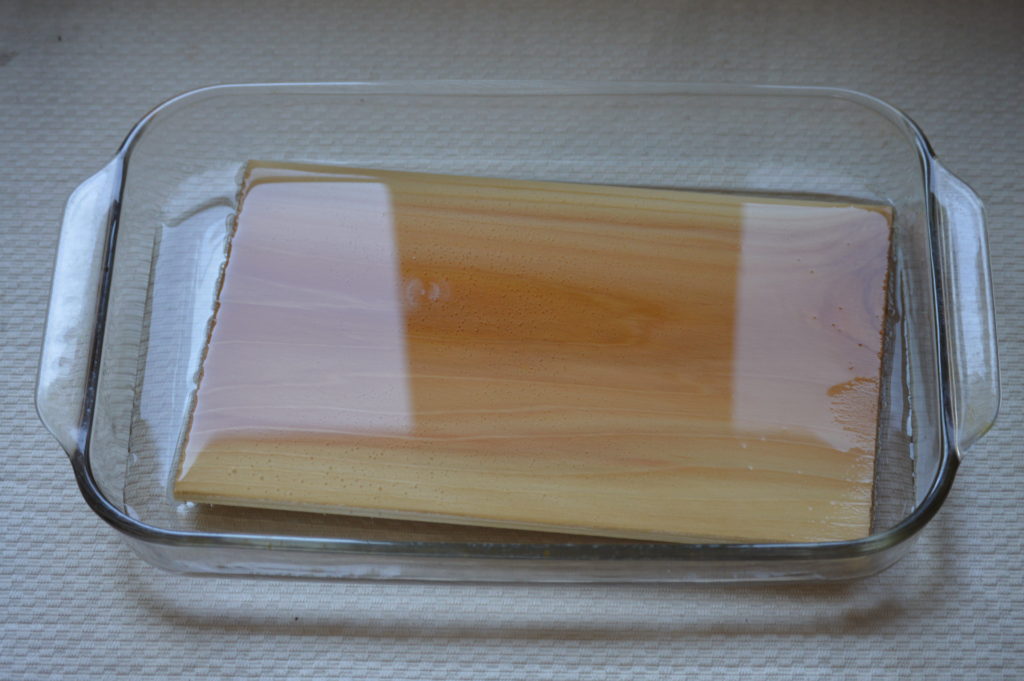
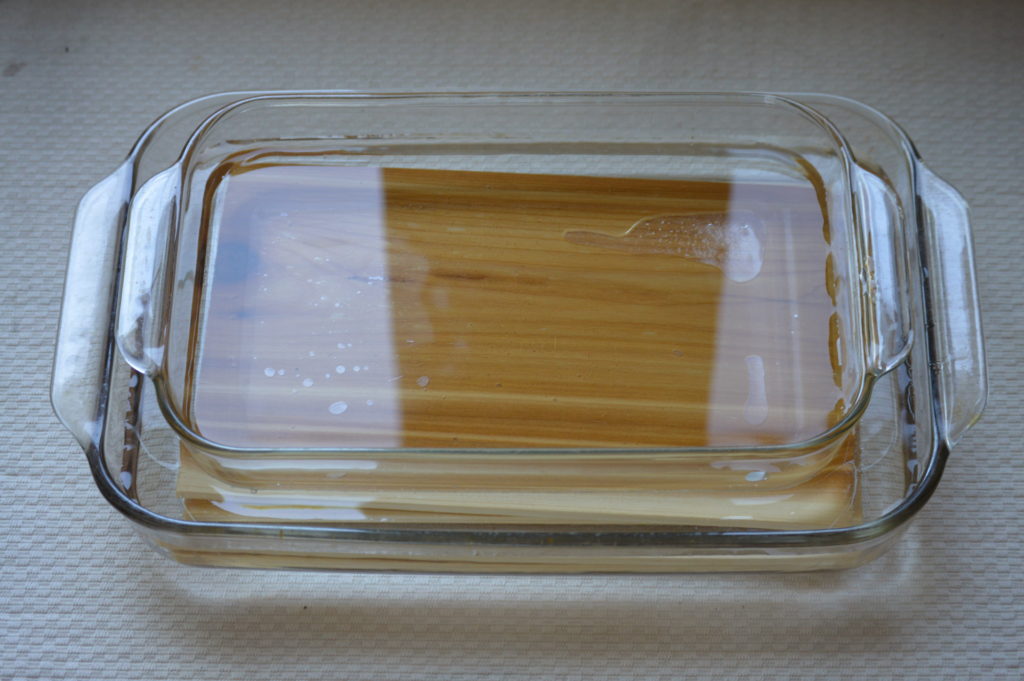 The reason you need the smaller dish filled with water on top is to provide a little bit of weight which keeps the planks fully submerged. Then all you have to do is simply let the wood planks soak in the water for one to 4 hours, right before using them on the grill.
Grilling with the wood planks
Ok so we’ve covered what you can grill, the different types of wood, and how to prep the wood planks, now let’s talk about the most important part. The actual grilling! The first and most obvious thing you will need to do before you start any type of grilling is preheat your grill. I recommend that you grill with a medium to medium-high heat, which temperature-wise will run anywhere from 300 to 350 degrees Fahrenheit. The reason we are choosing this temperature is that we want the flames of the grill to be hot enough that the wood plank begins to char and smoke a little, but not too hot that the wood plank burns, or catches on fire. However, not every grill is the same, not every wood plank is the same, and sometimes shit just happens. That is why I recommend that you purchase a spray bottle, and fill it up with water. 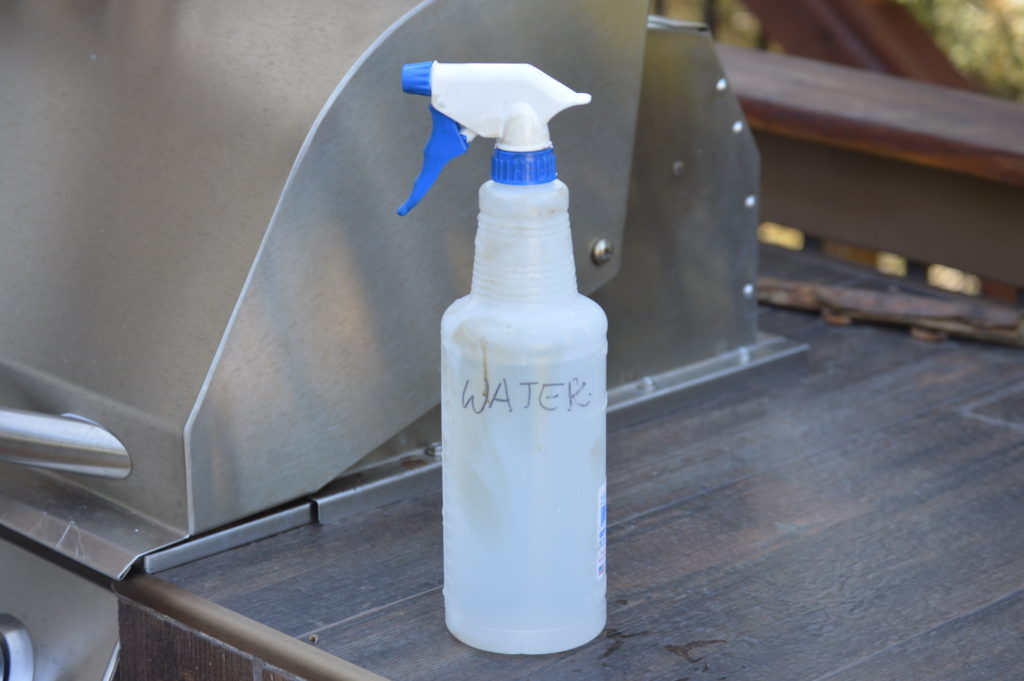
(I know it’s dirty because I leave it outside, but hey it works)
The spray bottle will be your little security net for extinguishing any unwanted flames that may occur on your wood planks. Once your grill is preheated, and you have properly soaked your wood planks, you will need to take each wood plank out of the liquid and pat them dry. Follow this up by placing whatever you are going to be cooking on the center of your wood plank and then setting it all on your preheated grill. After this, there is really not much left to do, but let whatever you are cooking, cook, no need to flip anything. Periodically check the wood planks maybe once every 5 to 7 minutes, to see if any flames have popped up, and extinguish them. After your food is done cooking simply take a spatula to take it off of the wood plank.
Additional tips
- Try adding a splash of wine, beer, or juice to the soaking liquid to help give a dish a little more flavor
- Use warm water for the soaking process because it can help open up the pores of the wood, thus shortening the time needed to soak
- Get an early start on the smoking process by lightly charring the wood planks on both sides for a couple of minutes before placing the fish on them.
- You can use the planks again, however, if I’m being honest I usually toss them, as the oil of fish, (particularly salmon) can leave a STRONG smell that I don’t really want laying around
Inspiration from other blogs
From Wild Wood Grilling
From Serious Eats

)