
Hello class and welcome back to another lesson in our Cooking 101 series. Today we are going to be talking all about the meat tenderizer, and how to properly one in the kitchen. This should be a rather short and quick lesson, yet it is one that I feel you should all know.
What is a meat tenderizer?
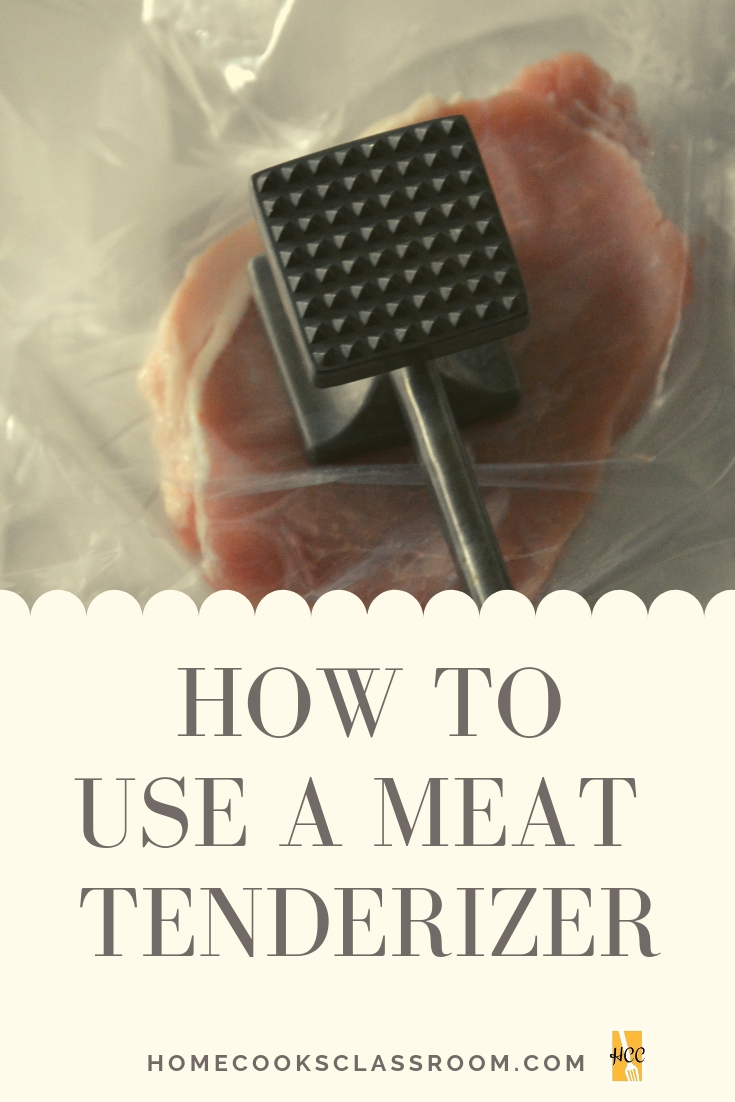
A meat tenderizer is a common kitchen tool used to either flatten out or tenderize cuts of meat. It looks like this.
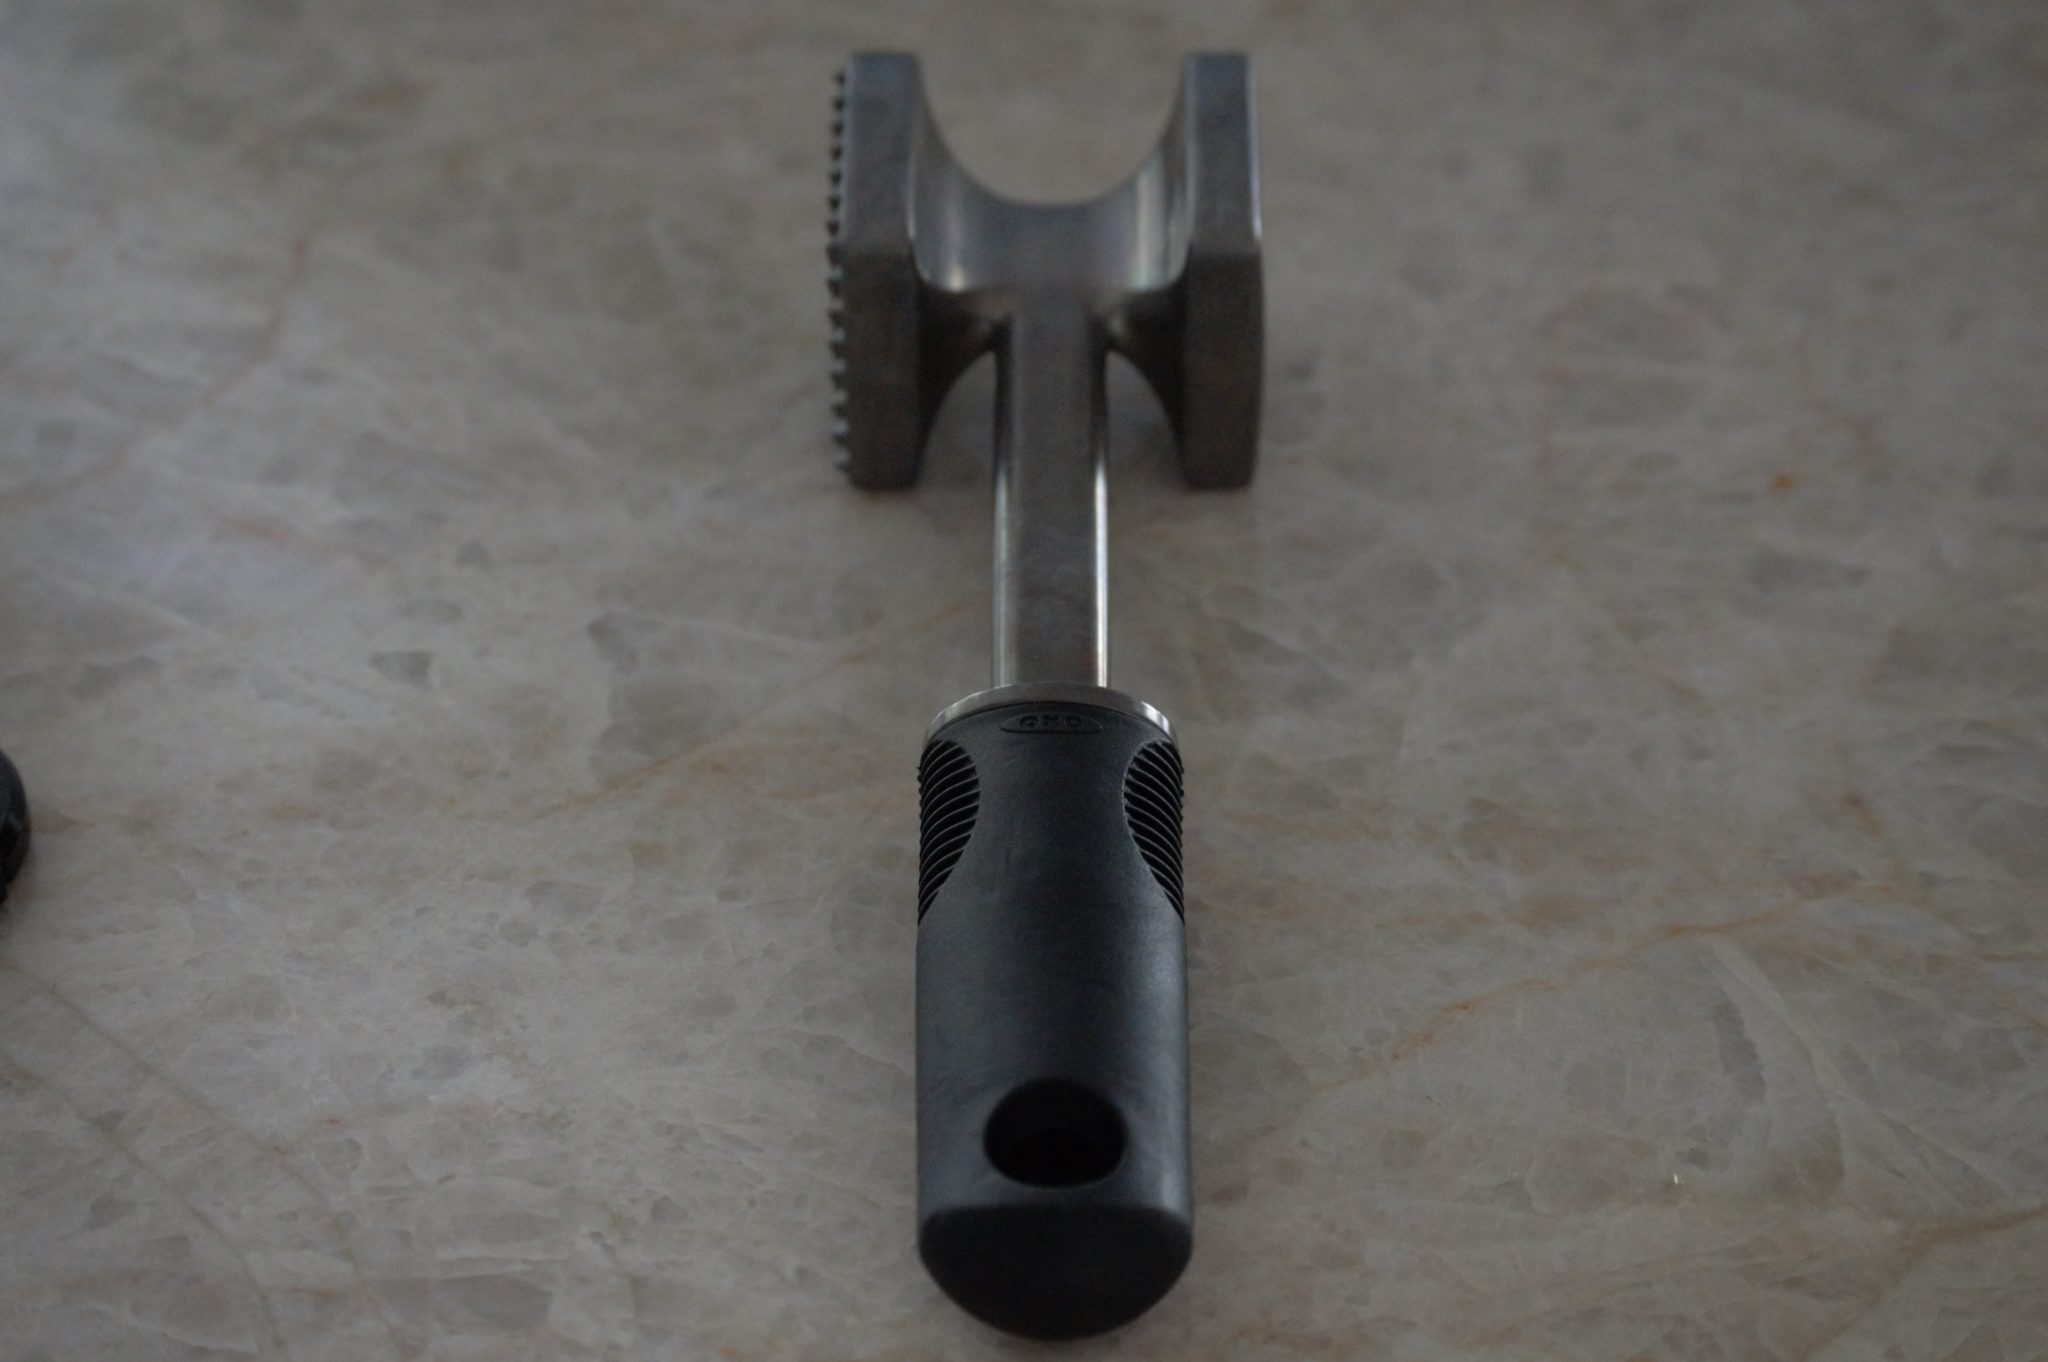
It is also known as a meat mallet or a meat pounder. Though that last term sounds a bit naughty, so let’s refrain from using that name. It is essentially a type of hammer with two sides, both of which have their separate purposes.
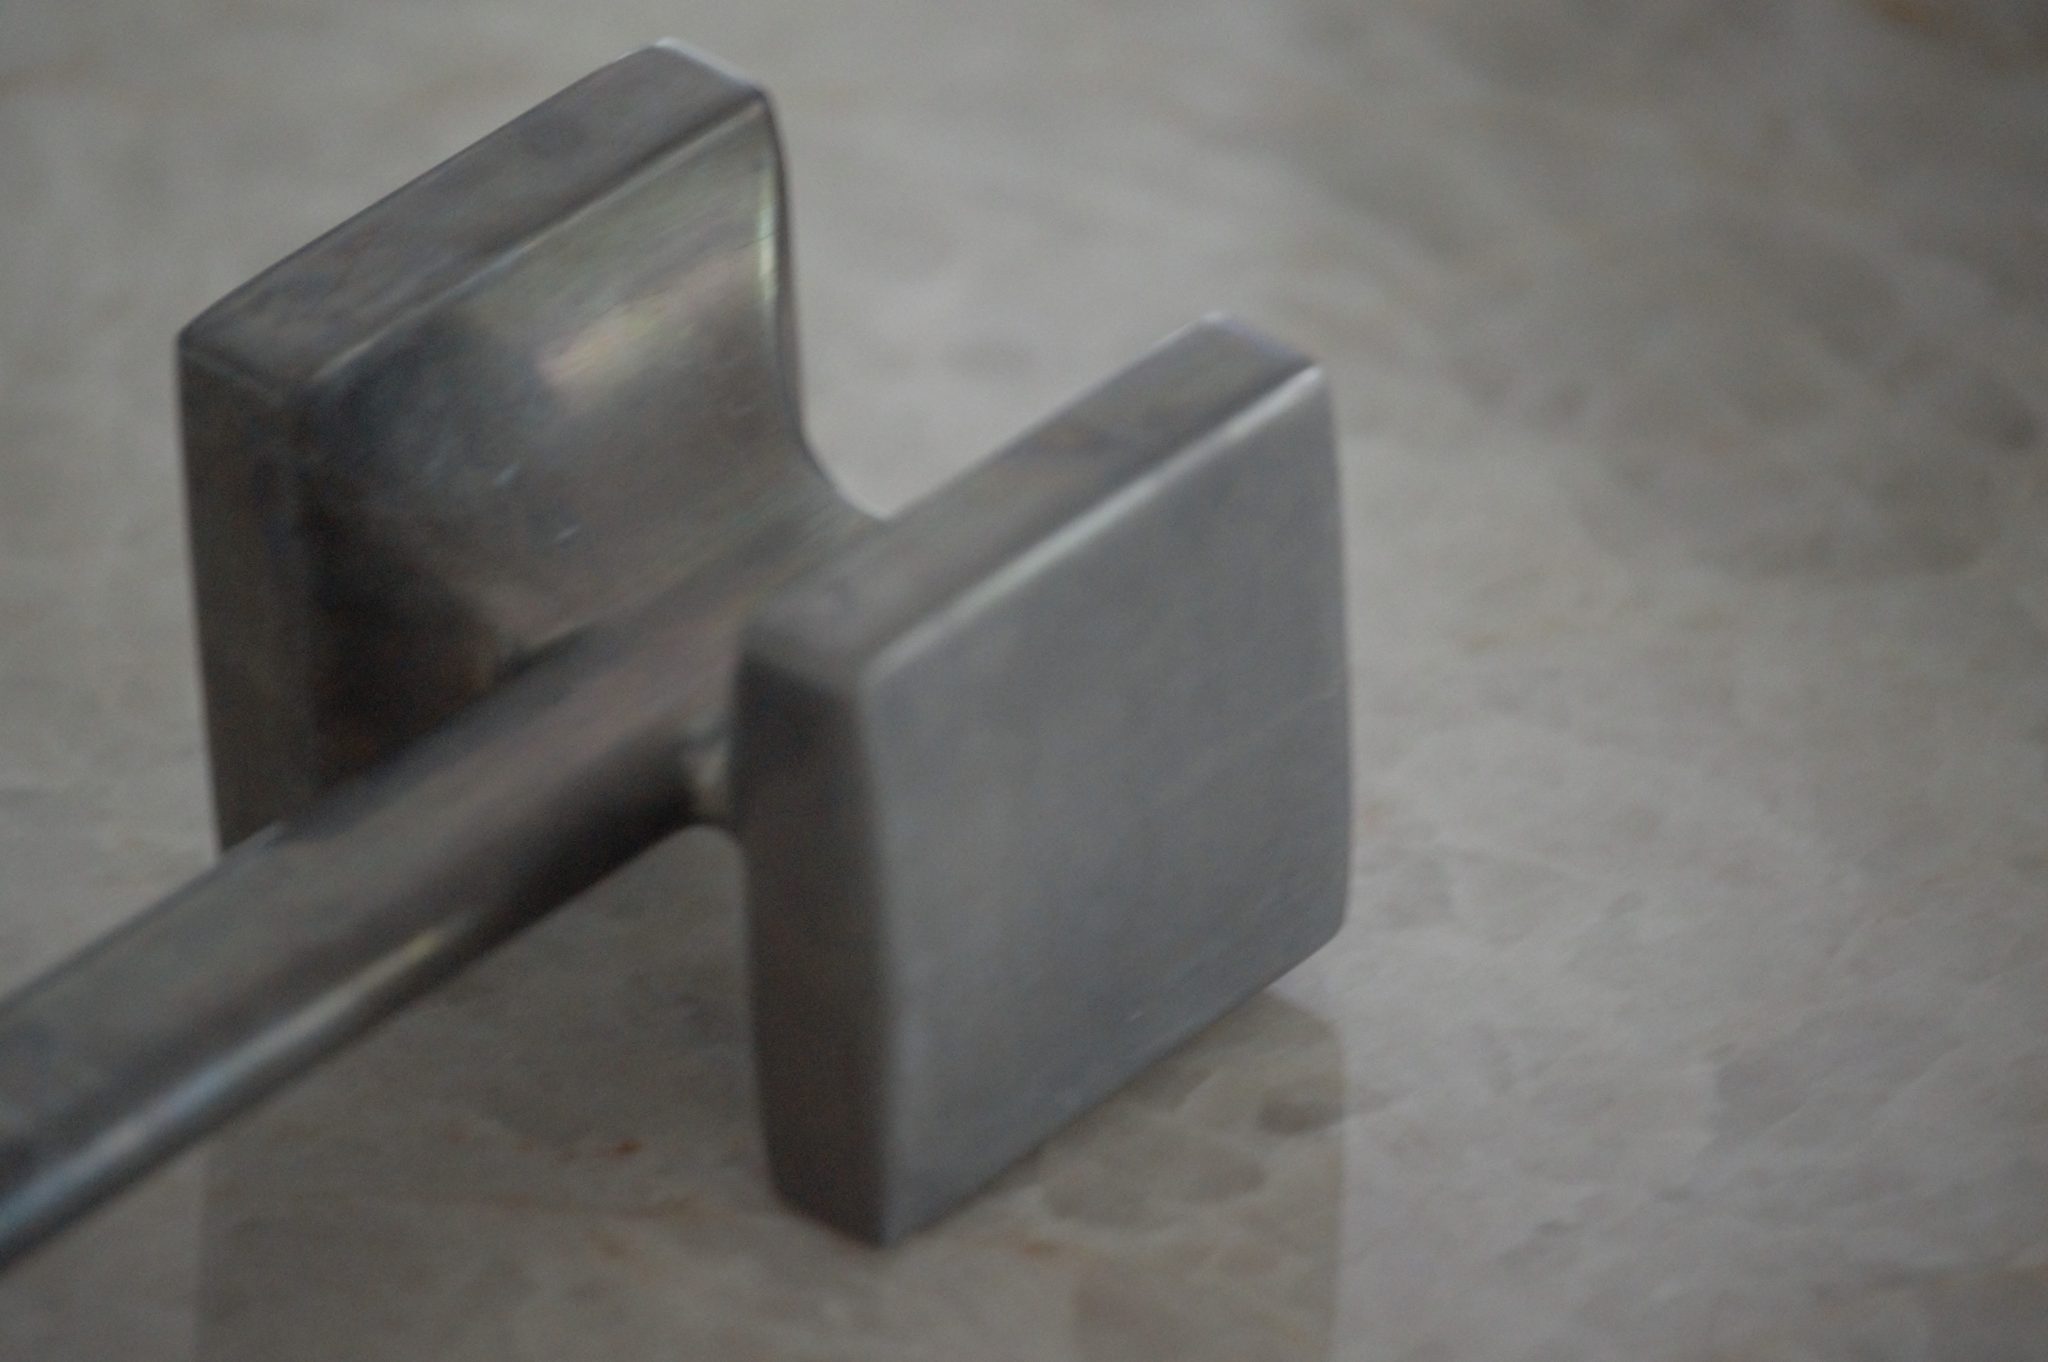
First, there is the flat side. This side is used mainly to flatten out anything from chicken to pork, and beef.
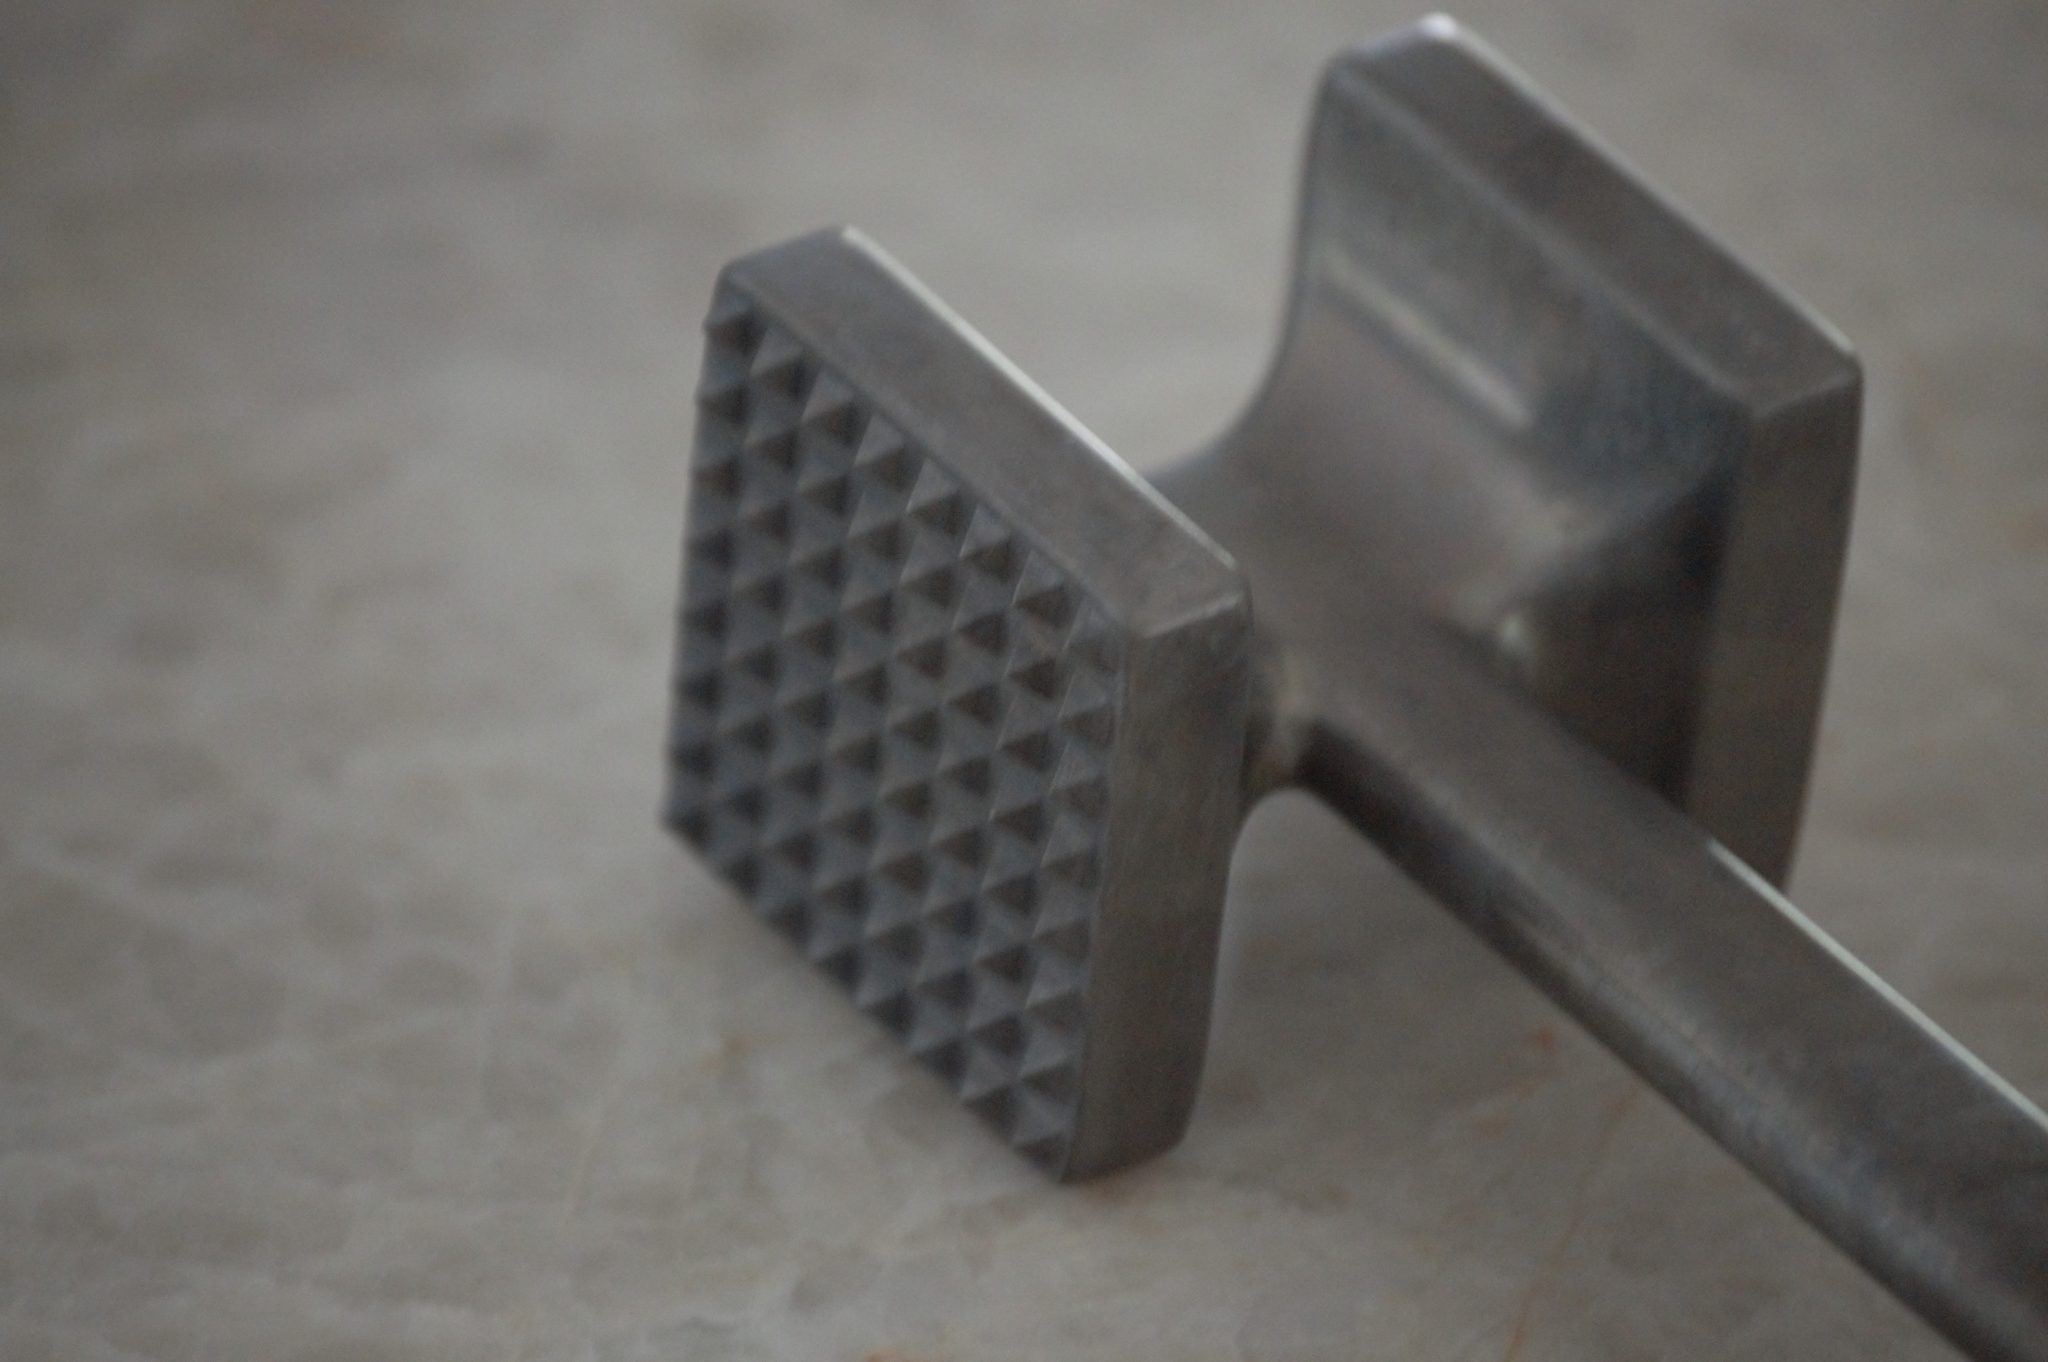
Then there is the ridged side. This side is used mainly to tenderize tough cuts of meat, specifically beef.
How to use the flat side
Start by placing whatever cut of meat you want to be flattened between two pieces of plastic. Most people suggest using plastic wrap. However, I have found that it is much easier to use a gallon-sized plastic bag. Either way that is up to you.
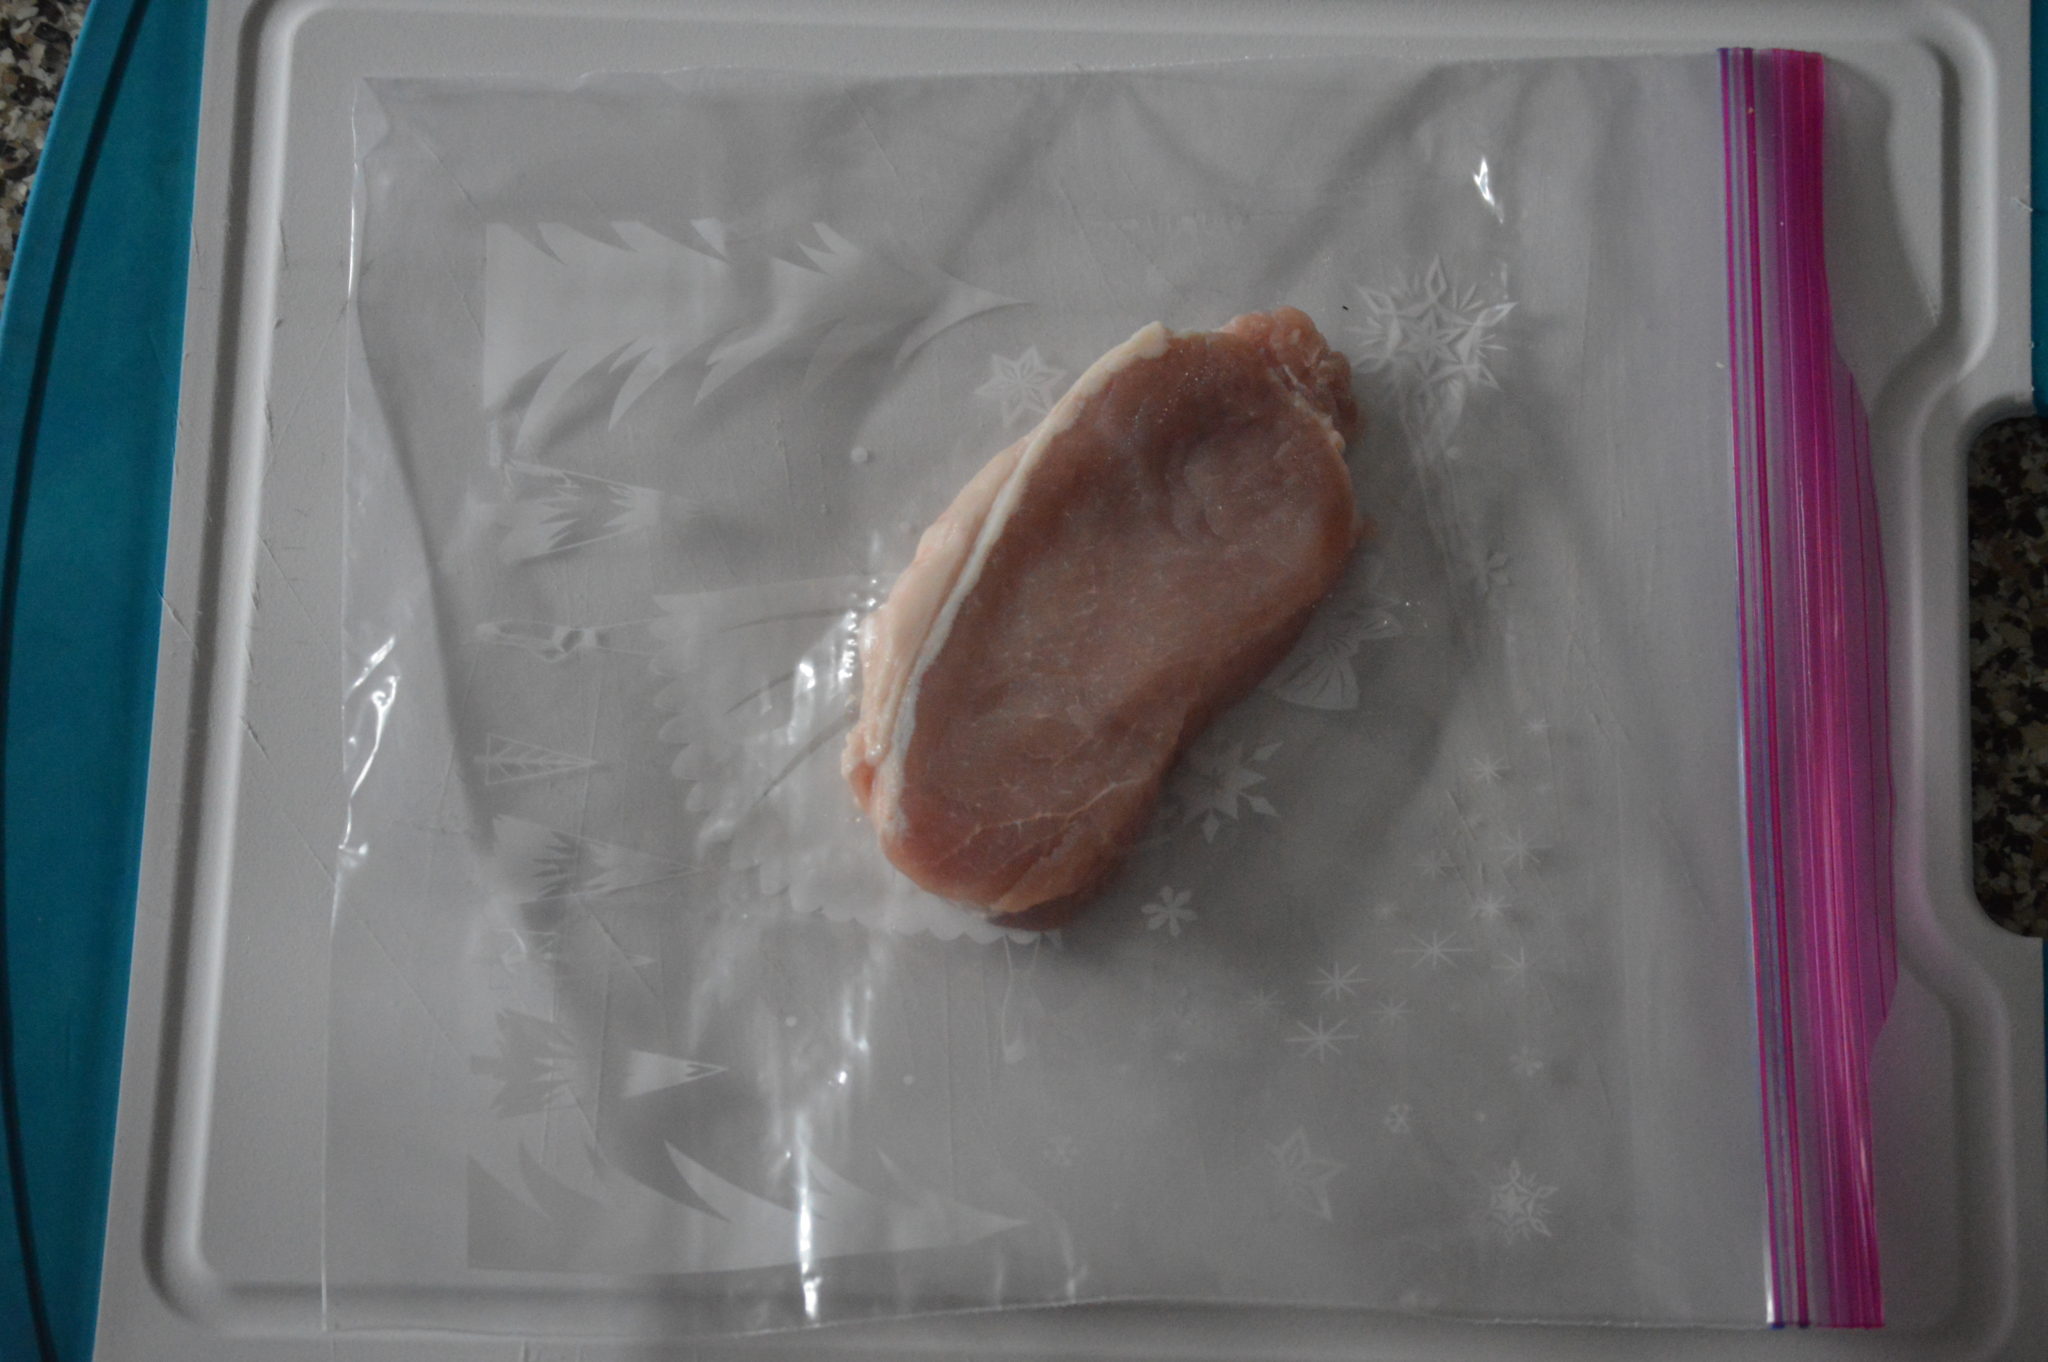
Now the purpose of the plastic is quite simple. When you hammer the meat, it’s juices can go splattering everywhere. So use the plastic if you want to keep yourself clean.
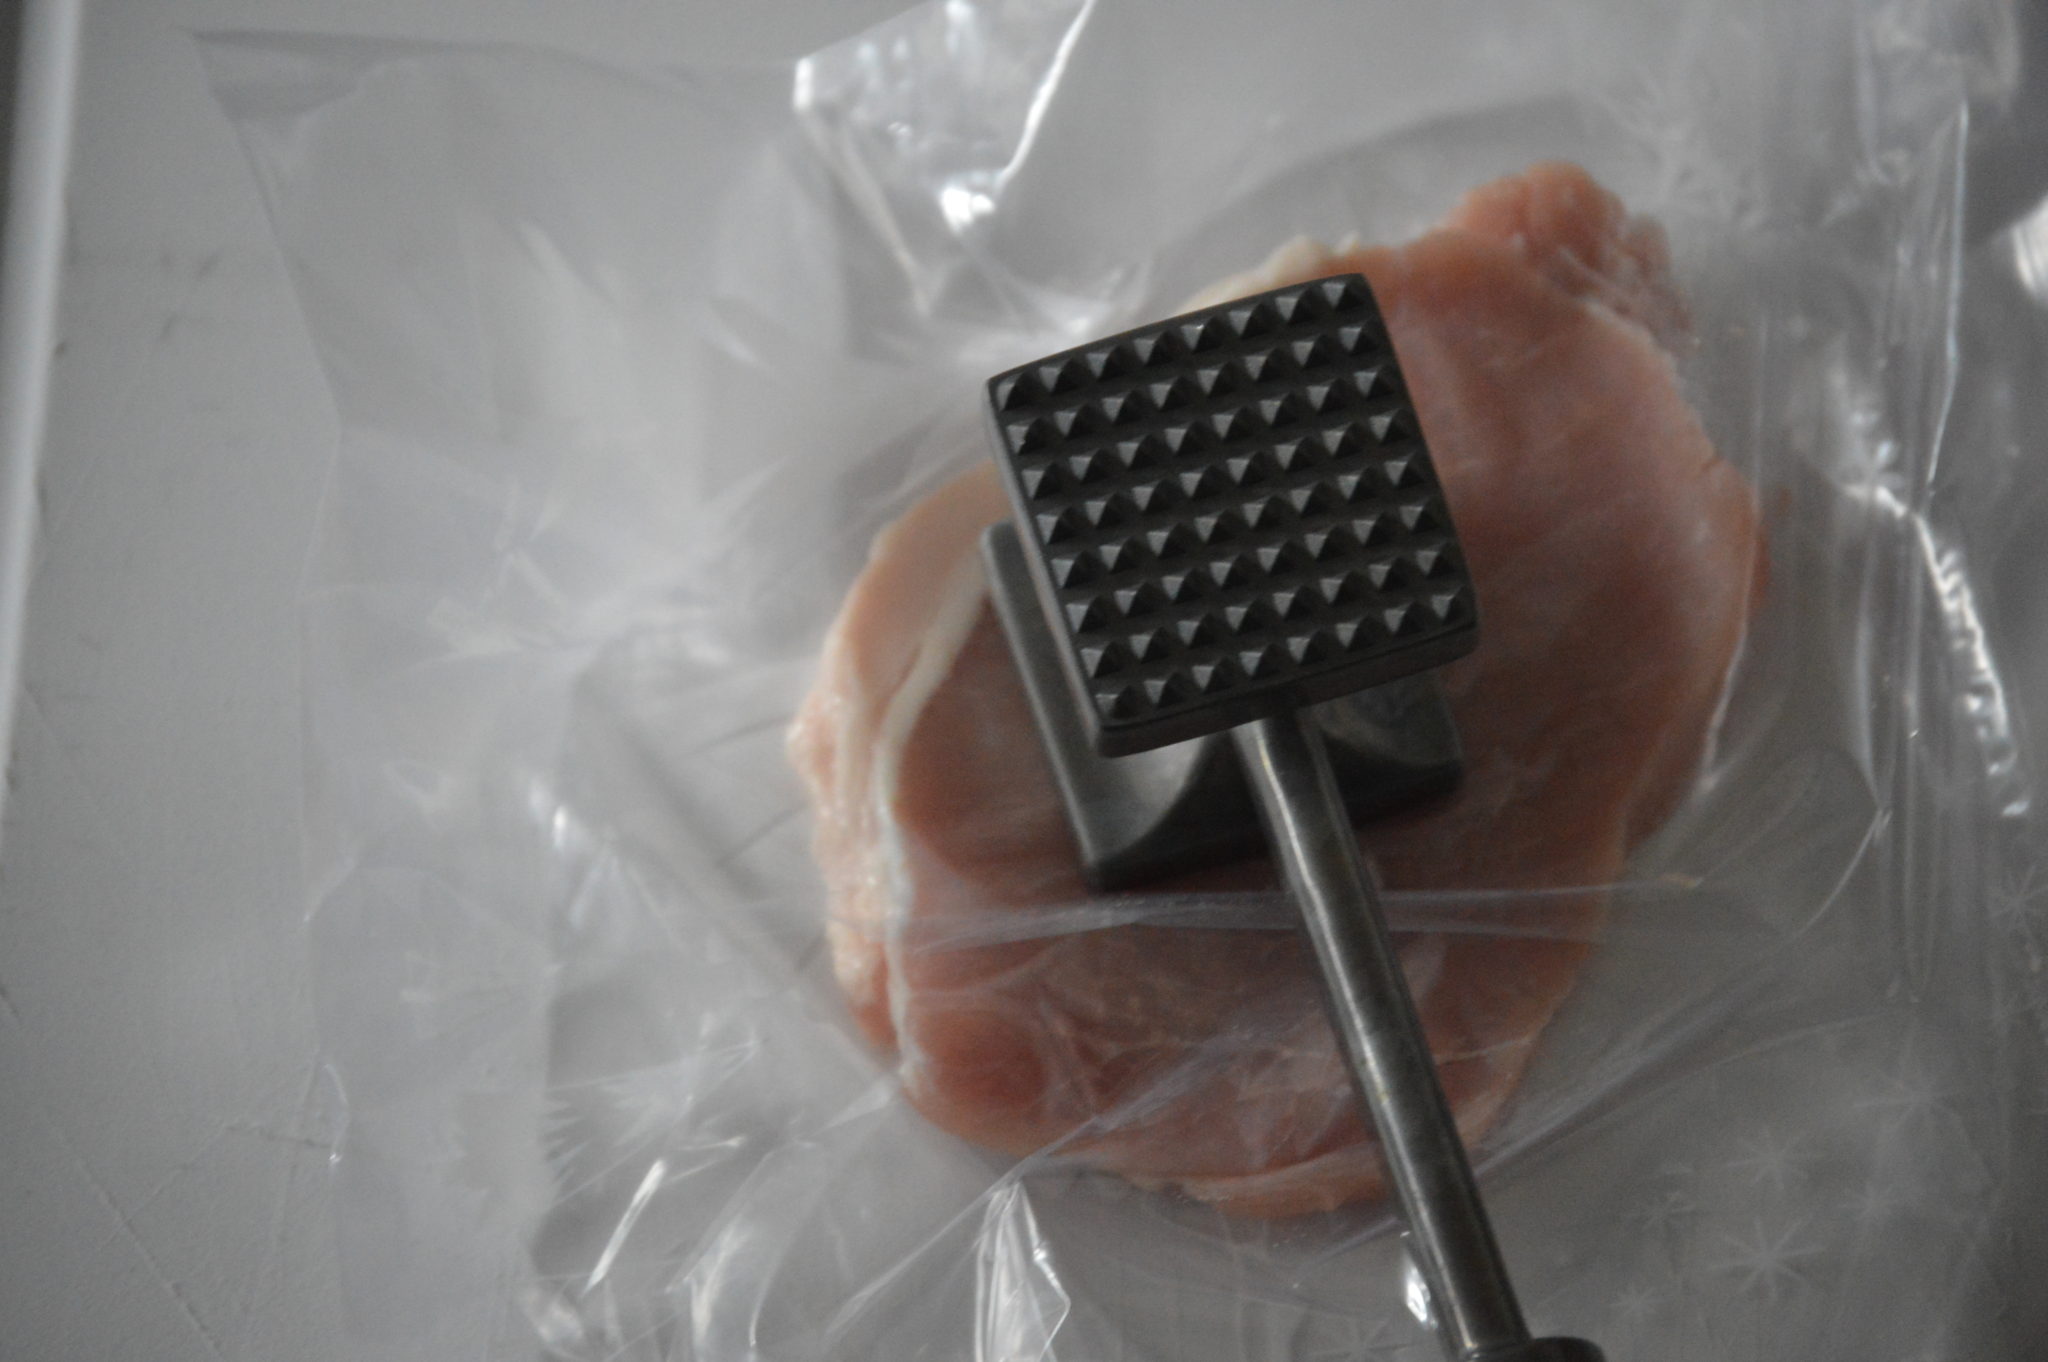
The next step is quite simple, just start hammering out the meat. I found it works best if you hammer in a circular motion, as this makes sure you aren’t flattening out just one area. Then after the meat is about halfway to as thin as you want, flip it over and repeat the process until it is as thin as you need it.
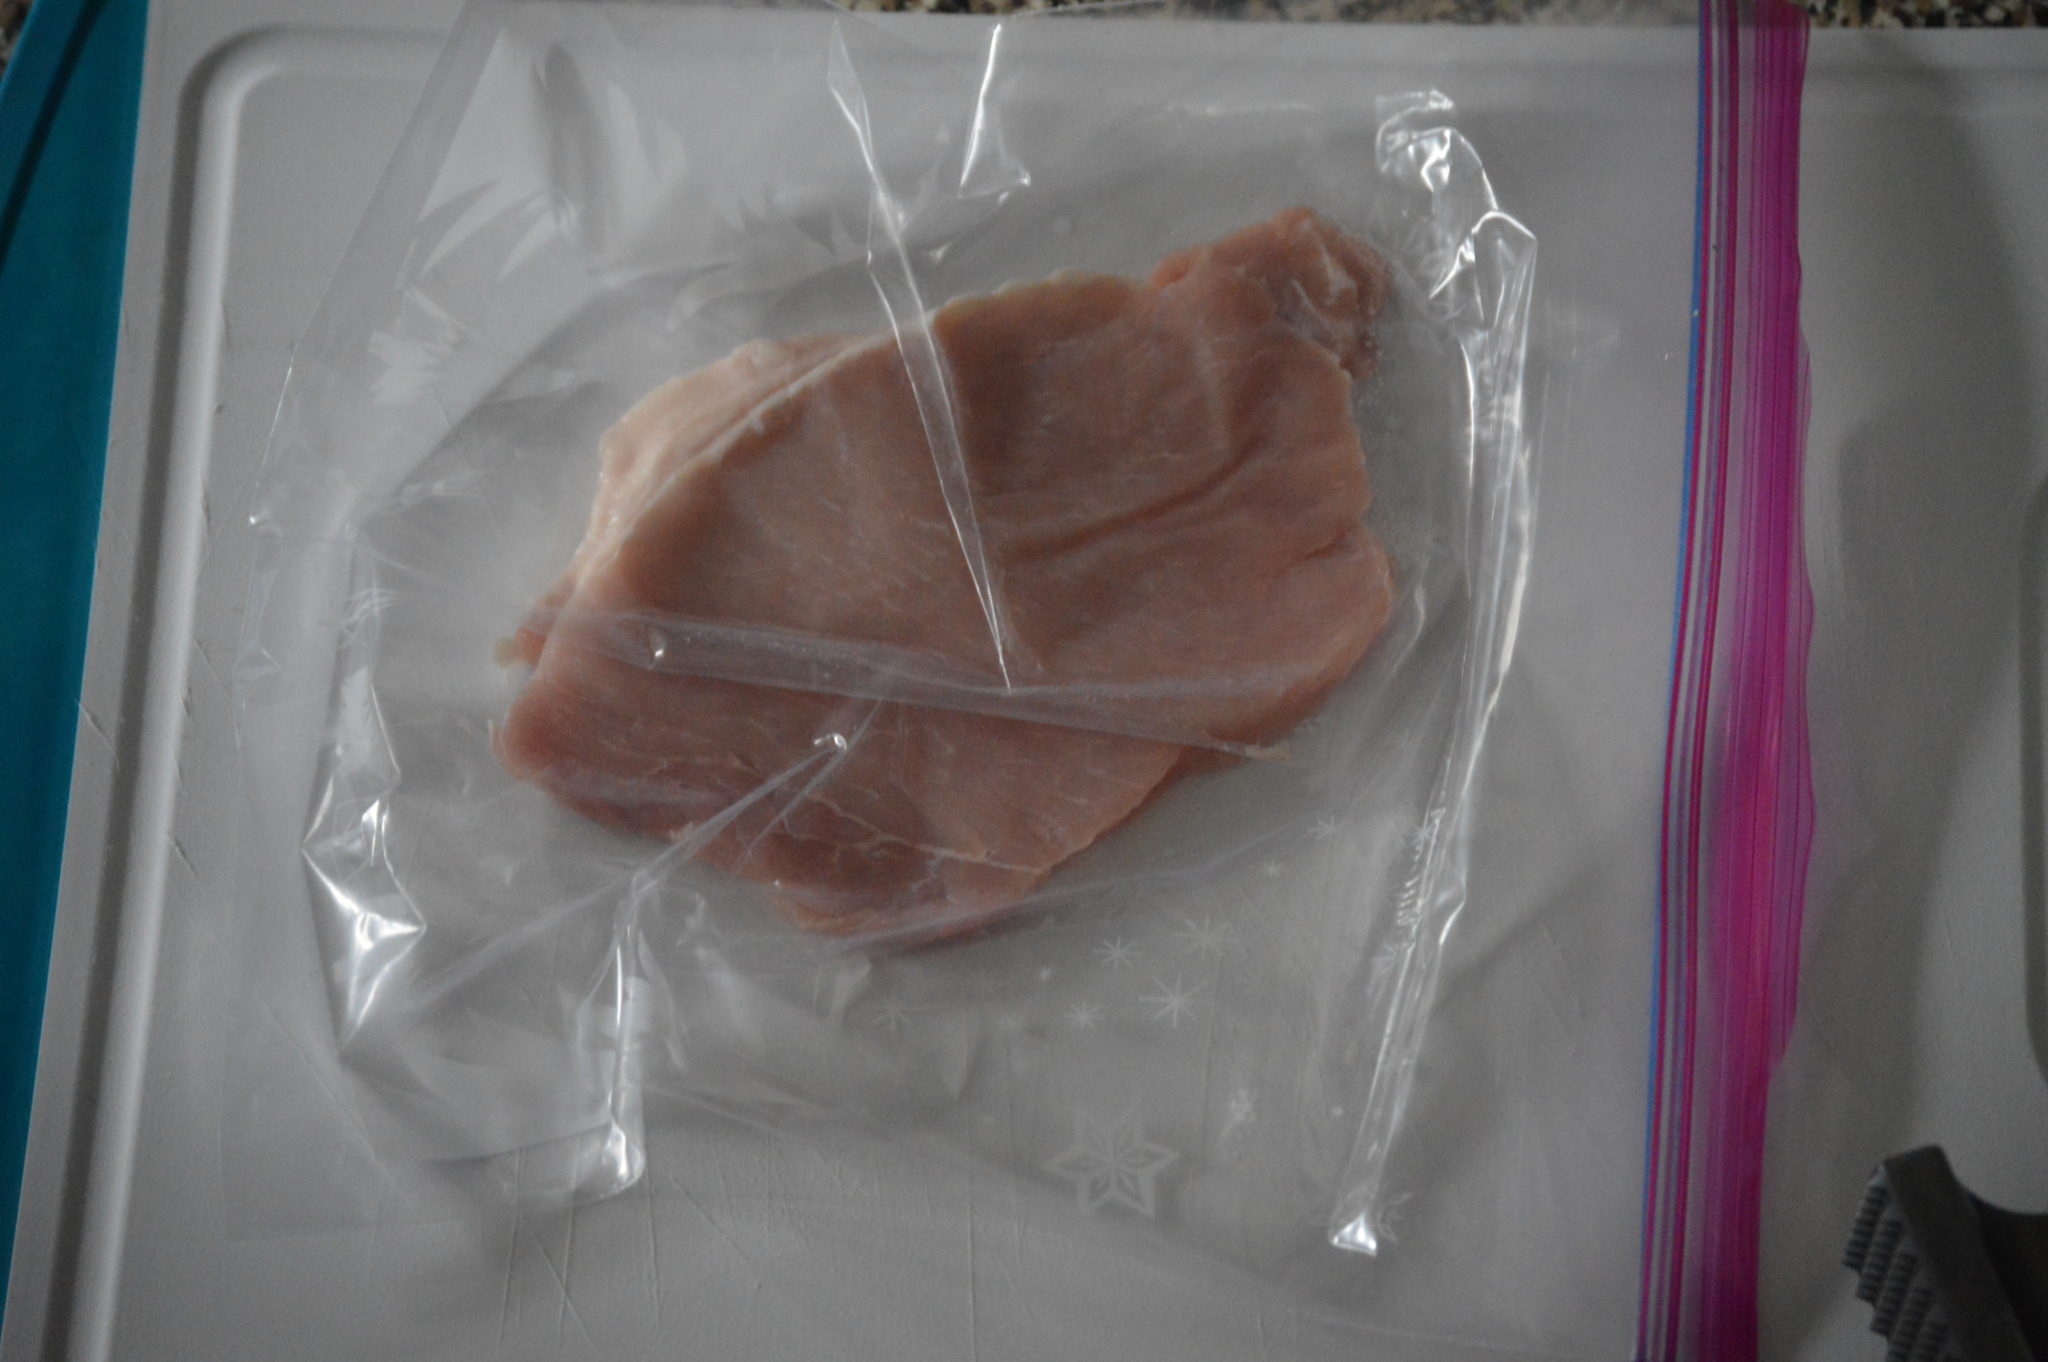
And that’s it, you’re done.
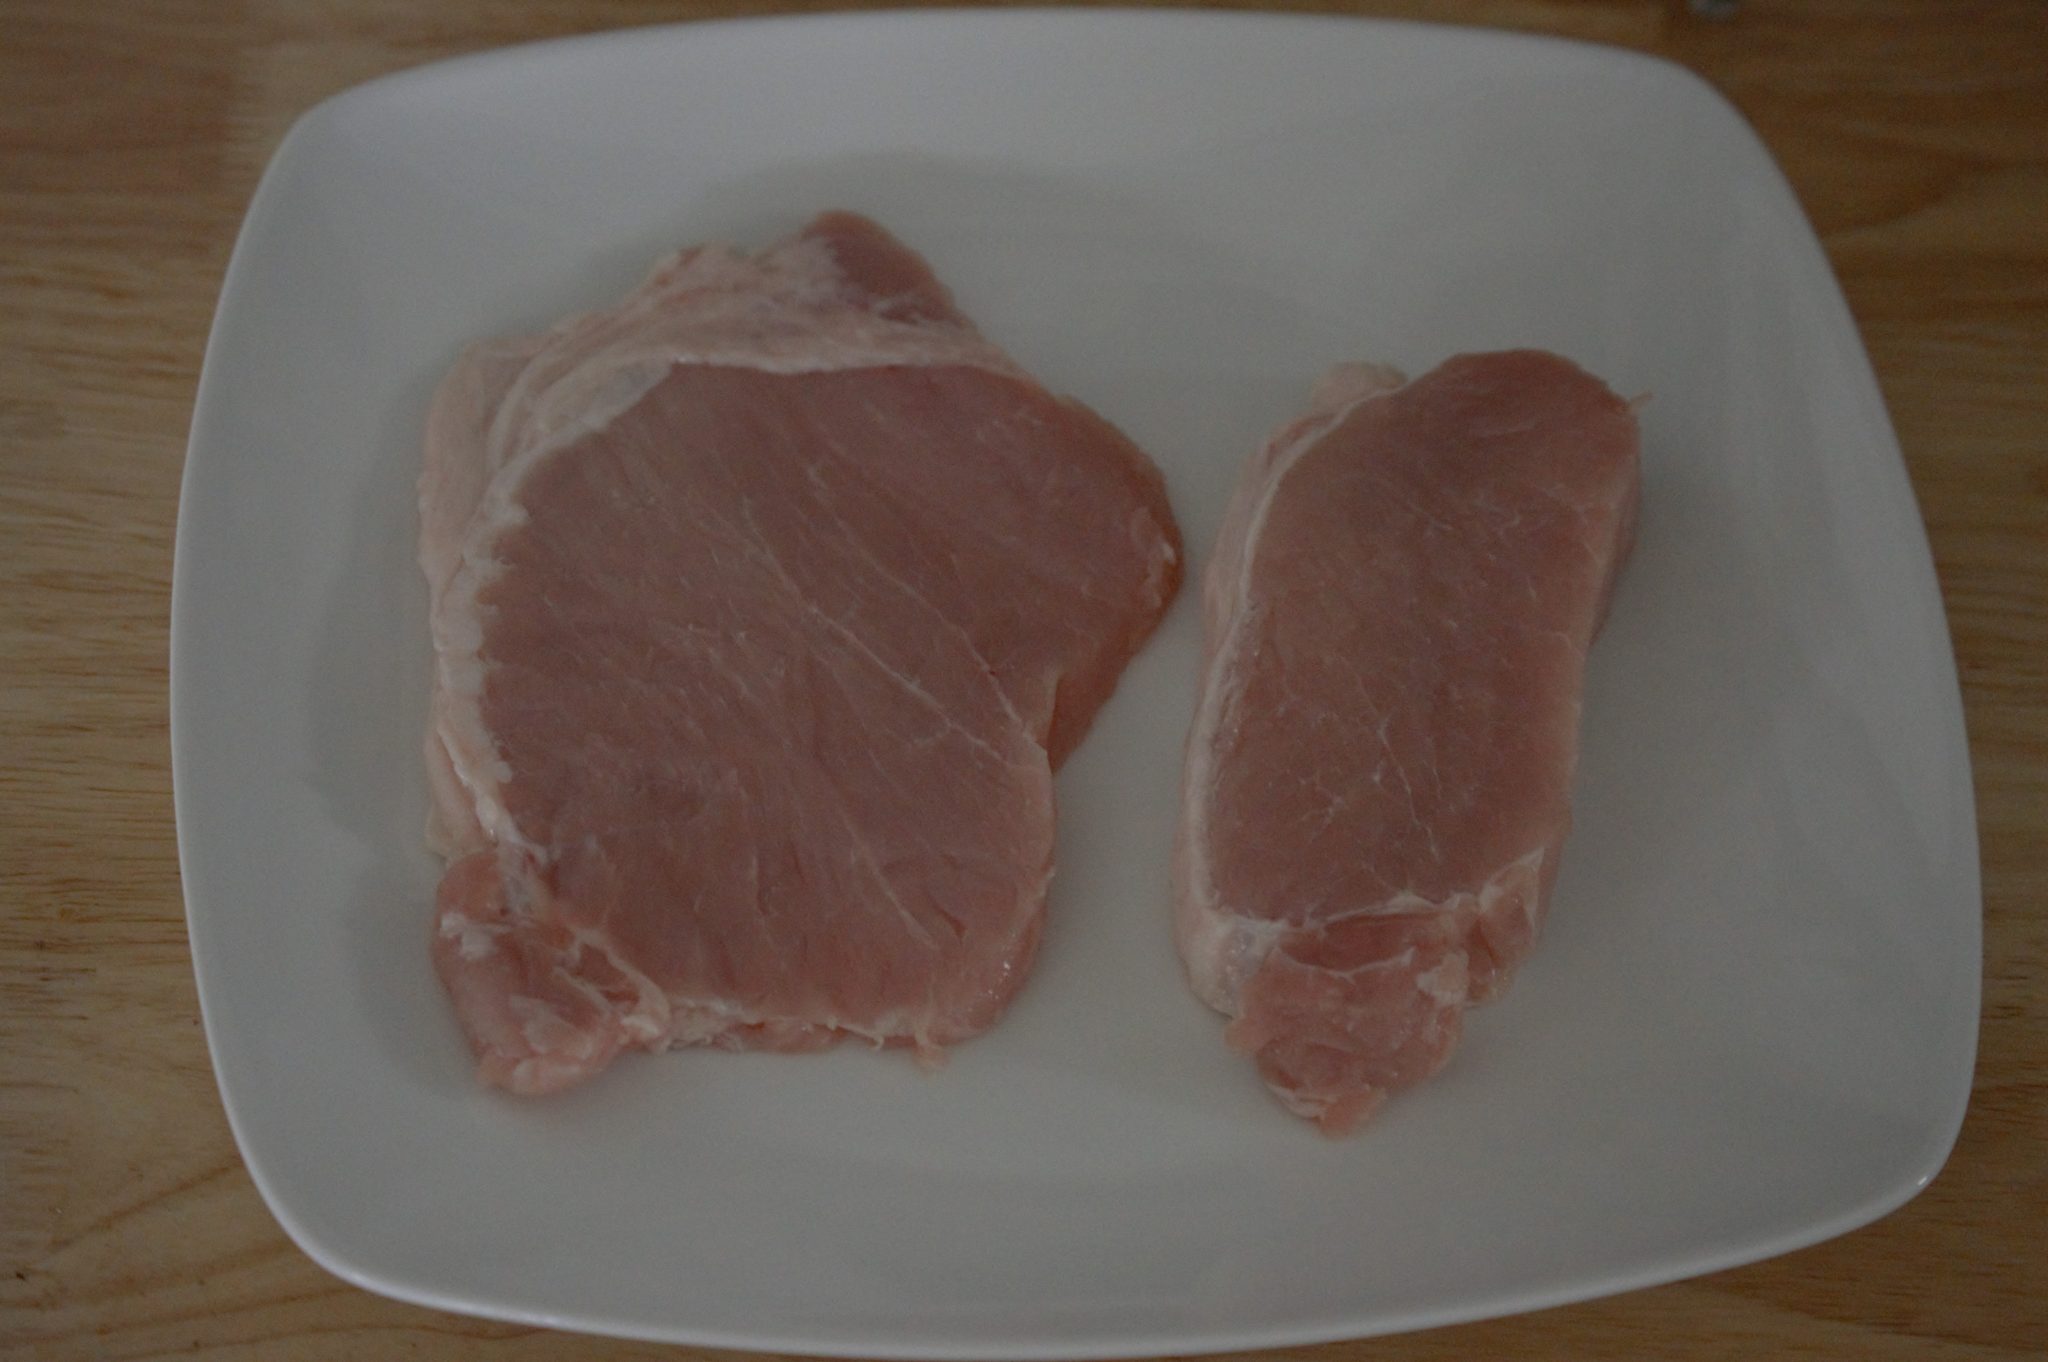
On the left is the flattened pork chop, and on the right is the original size.
How to use the ridged side
Now if I’m being completely honest, I almost never use this side of the mallet. And that’s because it’s sole purpose is to tenderize tough cuts of beef. Really the only dish I would ever use this side of the mallet with would be preparing steaks for chicken fried steaks. I don’t make those that often, plus my local grocery store sells pre tenderized, or “cubed” steaks.
However, if you do want to use this side of the mallet to make your own “cubed” steaks then this is how you do it.
First, don’t use any plastic. Yes, you are going to have to deal with some of the juices of the steak splattering back at you. But trust me when I say that the plastic will simply be ripped to shreds about halfway through. Do you see why I don’t use this method now?
So simply place the cut of beef on a thick cutting board and pound in a circular motion. Then simply turn it over and do the same with the other side. And that’s it, you now have your own tenderized, or “cubed” steaks.
Additional reading
From Food 52
From The Nest

Pingback: Mis-Steaks: 6 Mistakes To Avoid When Cooking a Steak - All Ways Delicious