
Have you ever attempted to bake a pie before?
If so then chances are you’ve come across a few recipes that instructed you to “blind bake” the pie crust. And unless you have a lot of baking experience, you probably had no idea what that meant.
We’ll don’t worry, because in today’s lesson we’re going to cover what it is, why you should do it, and most importantly how to do it without fail.
What is blind baking?
Now, this might seem obvious, but before we begin I just want to say that there are no blindfolds involved with blind baking. I know, who would of thunk? As to why we call it blind baking, well I honestly have no clue. Apparently, someone decided to call it that one day and the name just stuck.
So what is it exactly?
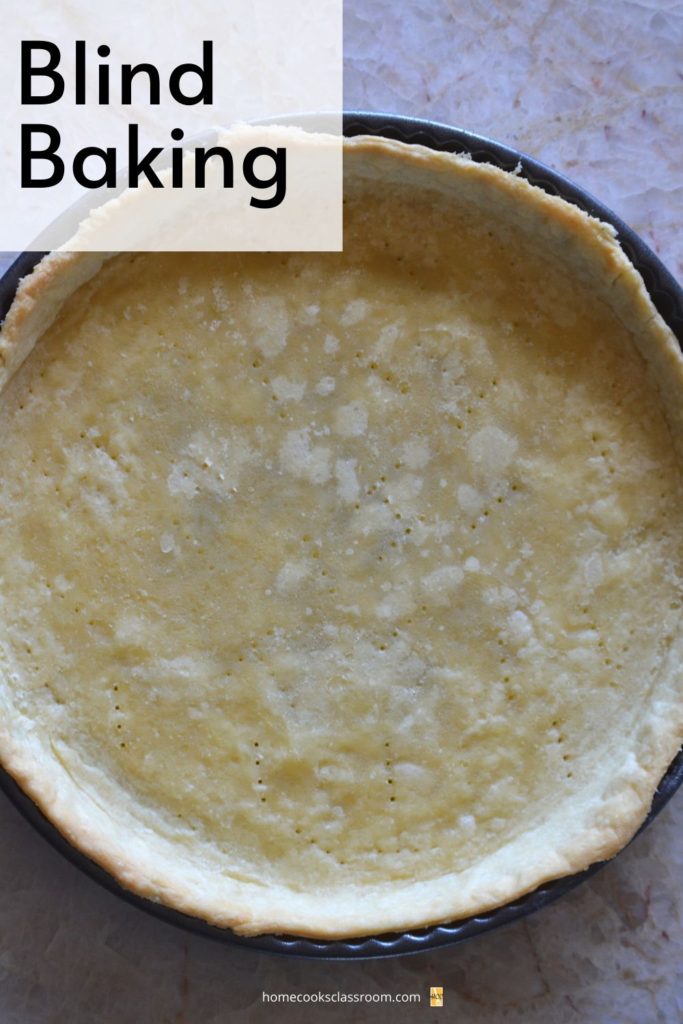
Well, in the simplest of terms, blind baking is the act of baking a pies crust prior to adding in the pie filling. Really there’s nothing more to it than that.
Why should you blind bake?
To be honest, blind baking isn’t always necessary when making pies. In fact, a lot of pie recipes don’t require it at all. So I don’t want you to get the impression that this is something that you always have to do when making pie.
That being said for most pie recipes, blind baking will fall between the boundaries of highly recommended to entirely necessary.
For example, blind baking is essential for making any type of no-bake pie.
Why?
Well, the answer is pretty obvious. If you aren’t going to bake the pie filling, then the pie crust isn’t going to magically bake itself. And trust me no one wants to be eating raw pie crust!
But even for some recipes where the pie filling will be baked like a quiche or a pumpkin pie, it’s highly recommended.
Why?
It comes down to one of two reasons. For one it might be because the pie has a short baking time. Or maybe it’s because the pie filling has a high concentration of liquids and or fats. Either way, if you don’t blind bake in those scenarios you will more than likely end up with a pie crust that’s either undercooked or soggy. And there’s nothing worse than ending up with a soggy pie crust.
How to blind bake?
Before you can get to any blind baking you are first going to need some pie crust. So if you don’t have any then feel free to check out our recipe.
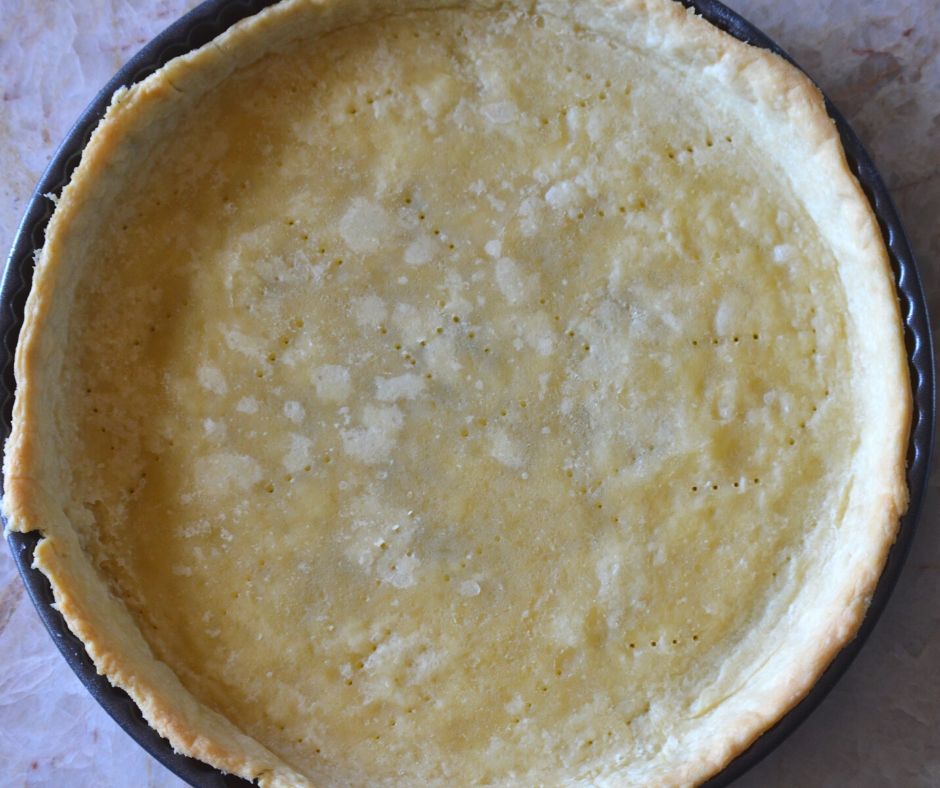
Once you do have some pie crust you will want to begin by rolling it out into a thin circle.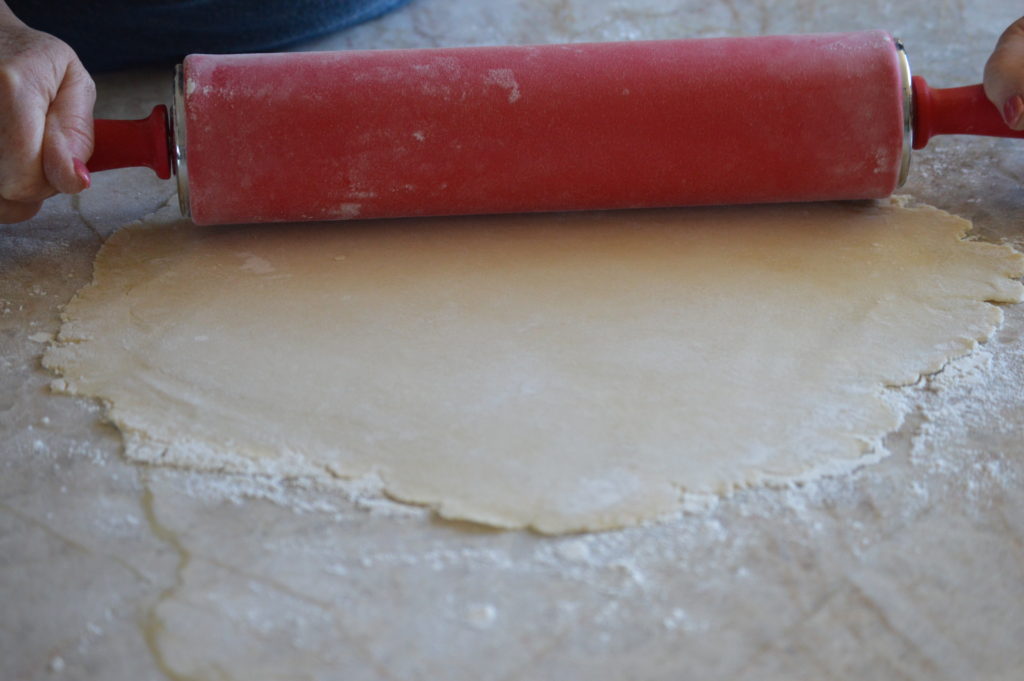 Then after that’s done you’ll want to place the pie crust into whatever pie pan or tart pan you plan on baking in. Follow this up by gently pressing the crust into the pan so that it forms to it nice and tightly.
 And finally cut off any excess pie crust that might be hanging over the sides.
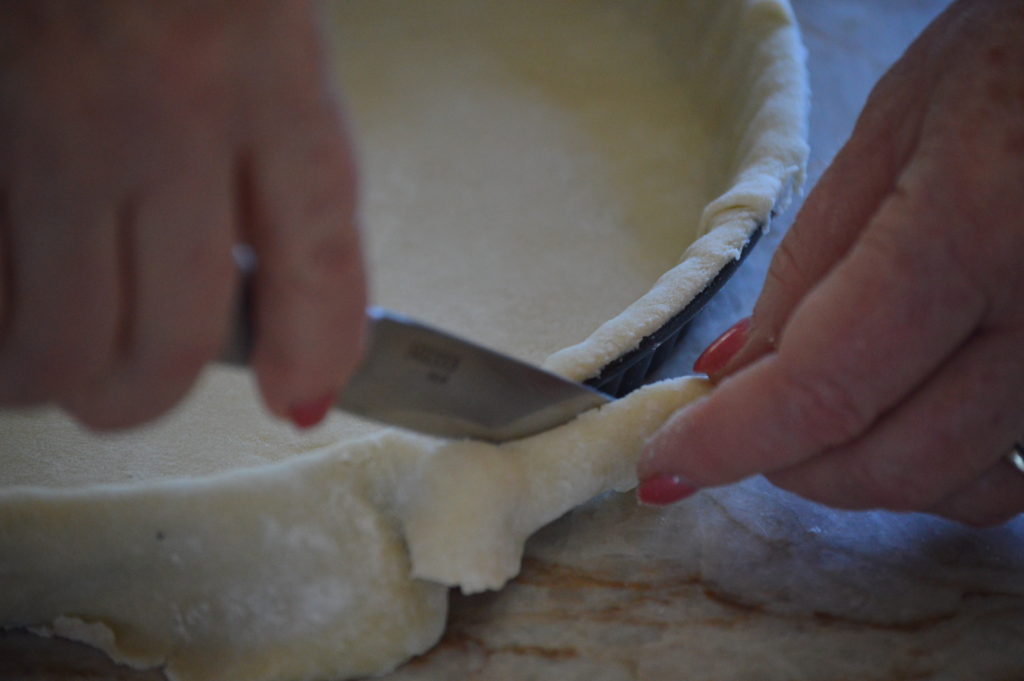
Got that all done?
Ok good.
Next, you are going to want to do what is called docking the pie crust. And basically all that means is you need to poke a few holes into the bottom of the pie crust with a fork.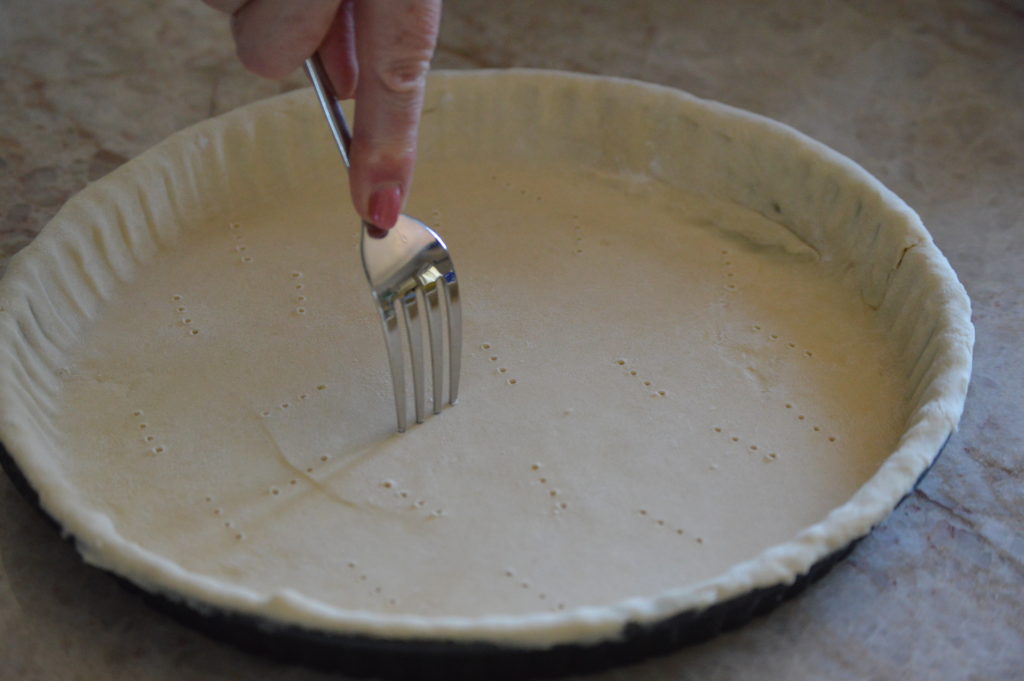 Why are we doing this? Well, you see as the pie crust bakes it will create steam. And sometimes this steam can bubble up and form air pockets. But by poking a few holes in the crust you can alow the excess steam escape, leaving your pie crust nice and flat. So make sure you do it, it only takes a couple of seconds.
Now after you’ve docked the pie crust you have an optional, but highly recommended step.
Place it in your freezer for 30 minutes to an hour.
While it’s not necessary, freezing the pie crust before baking has its benefits. You see as pie crust bakes the fats within the crust will melt. And that’s all good, we want that to happen. However, if the sides of the pie crust don’t set up prior to the fats melting you can end up with sides that slump down. And you don’t want to have slumped sides to your pie crust, right?
No, you don’t.
But by slightly freezing the pie crust before baking it, you will cause the fats to melt at a much slower pace. Which ultimately will give the sides of the crust plenty of time to set up.
Plus this gives you plenty of time preheat your oven, so go on and set it to 350 degrees Fahrenheit.
After you’ve done all of that we have one final step to do before we place our pie crust in the oven. We need to weigh it down. And the reason for this is very similar to the reasons for both the docking and the freezing of the pie crust. The weights help to ensure that the bottom stays flat and that the sides don’t slump. So this really is the most important step of blind baking.
To do it start by covering the pie crust with either some heavy-duty non-stick aluminum foil or parchment paper. Then all you have to do is fill up the cavity of the pie with weights. Now there are pie weights that you can purchase.
However, If you don’t want to purchase your own pie weights then no worries. You see, there are plenty of less expensive options that you can use as weights that work just as well.
For example:
- Dried beans
- Dried rice
- Sugar
Not only are these items relatively inexpensive, but you should also have at least one of them lying around in your kitchen. So pick one and pour it into the cavity of the pie crust until it comes to the top.

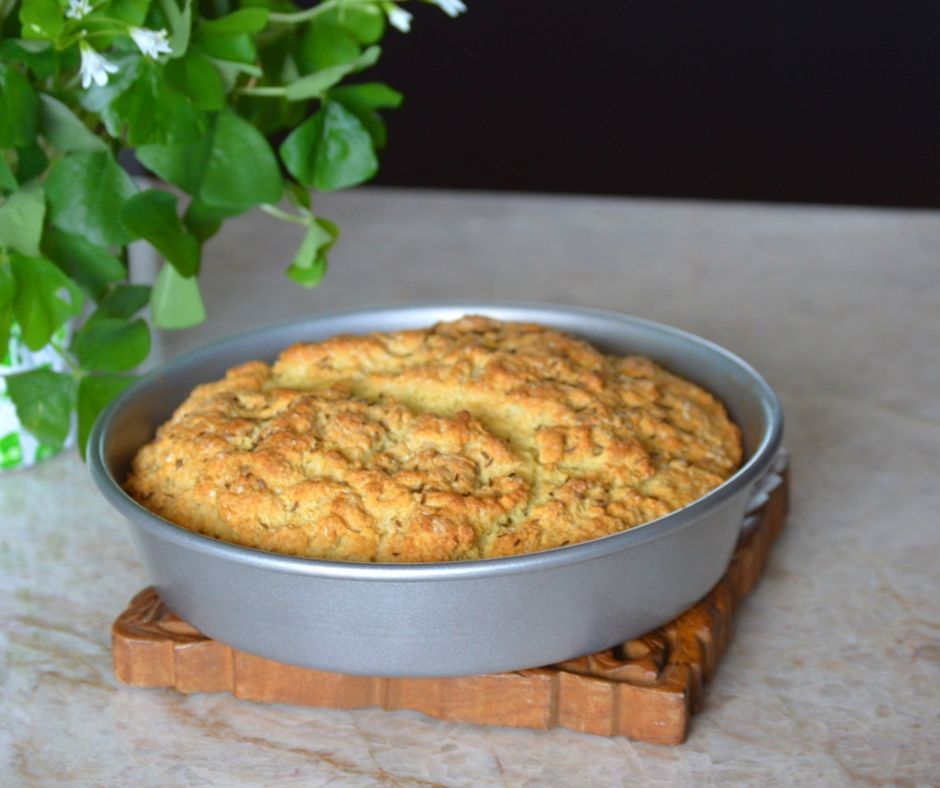
And last but not least place the pie crust in your heated oven and let it bake for 20 minutes undisturbed for a quiche, and up to 50 minutes for a no-bake pie.
That’s it, fairly easy, right?
So now that you know what blind baking is, why it is important to do, and most importantly how to do it, I think it’s time you get to baking!
What to learn even more about blind baking? Then check out these other sources.
From Simply Recipes
