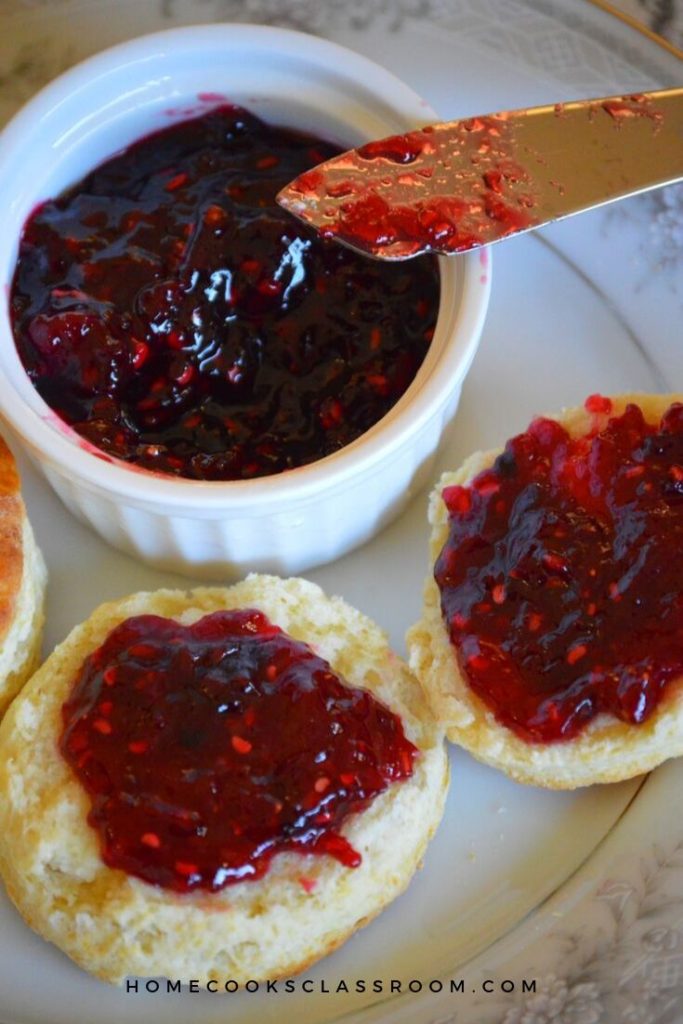
I hope you’re all as excited I am folks because today we are going to be making a very special treat, homemade jam! And not just any old jam, no, no, no today we are going to be whipping up a batch of wonderfully delicious four berry jam.
Never heard of it?
Well as the name quite obviously suggests it is a jam that combines not just two, nor three, but four different types of berries. And you can use any combination of berries that you prefer, but for today’s recipe, we are going to be using the four classic jam berries. That’s strawberries, blueberries, blackberries, and raspberries. It’s almost like the perfect jam for those of us that struggle with making decisions early in the morning.
Now before we get into the recipe I want to take a few seconds to talk about the way I like to jar my jam and a little something called pectin.
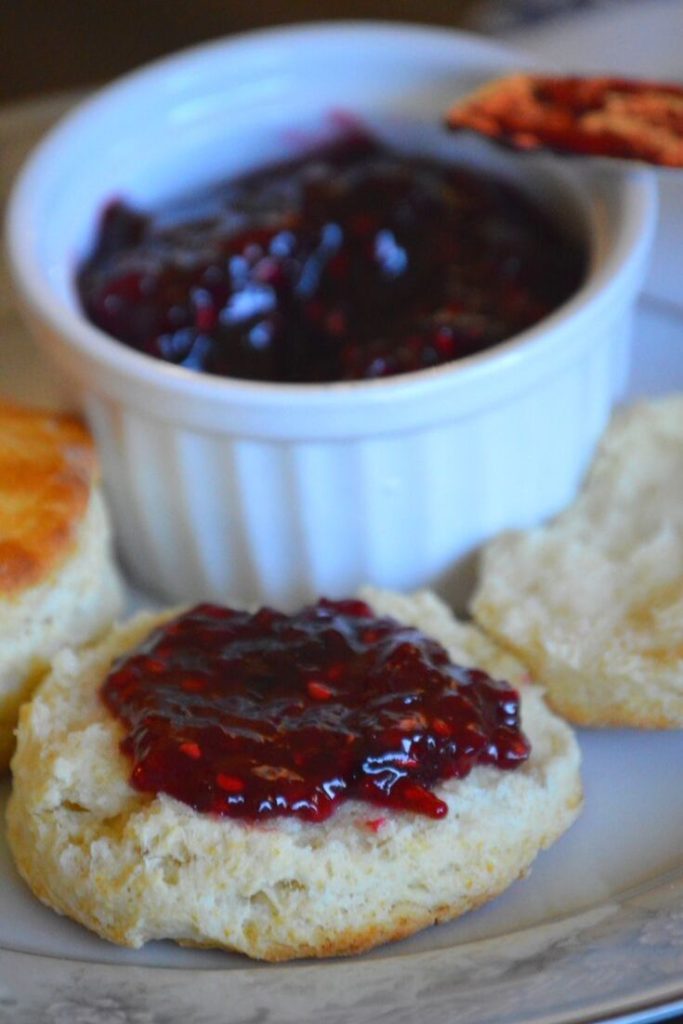
For starters, I have never used the boiling water process when I jar my jam. That’s not to say that there’s anything wrong with that particular process If you prefer to do it that way then cool. But in my opinion, unless you are making a huge batch that you plan on storing for years there’s really no need for it.
Instead, I like to use what I call the “quick method”. Essentially all you have to do is make sure that your jars are sanitized and that whatever you make is poured into the jars piping hot. Then you just put the lids on the jars and let them sit on your kitchen counter until they cool. The cooling down will cause the lids of the jars to seal which will give them a shelf life of at least 6 months if stored in a cool dark area. And trust me you’ll go through this jam a lot faster than 6 months, it’s that good.
Ok now let’s talk pectin. For those of you that have never made jam before, you must understand that most recipes will call for an ingredient called pectin. And despite what many people believe, it has nothing to do with preserving the jam. All pectin does is help thicken up the jam so that it sets properly. It’s almost like gelatin.
But here’s the thing, you don’t need to add raw pectin to your jam. You see almost all fruits naturally have pectin in them, and some fruits such as citrus have a ton of natural pectin. That’s why you will see no pectin listed in today’s recipe. Instead, we are just going to add some lemon juice that will not only improve to the flavor of the jam but also provide more than enough natural pectin to let the jam set properly.
Alright, I think that’s all that needed to be said so let’s get on with making our four berry jam.
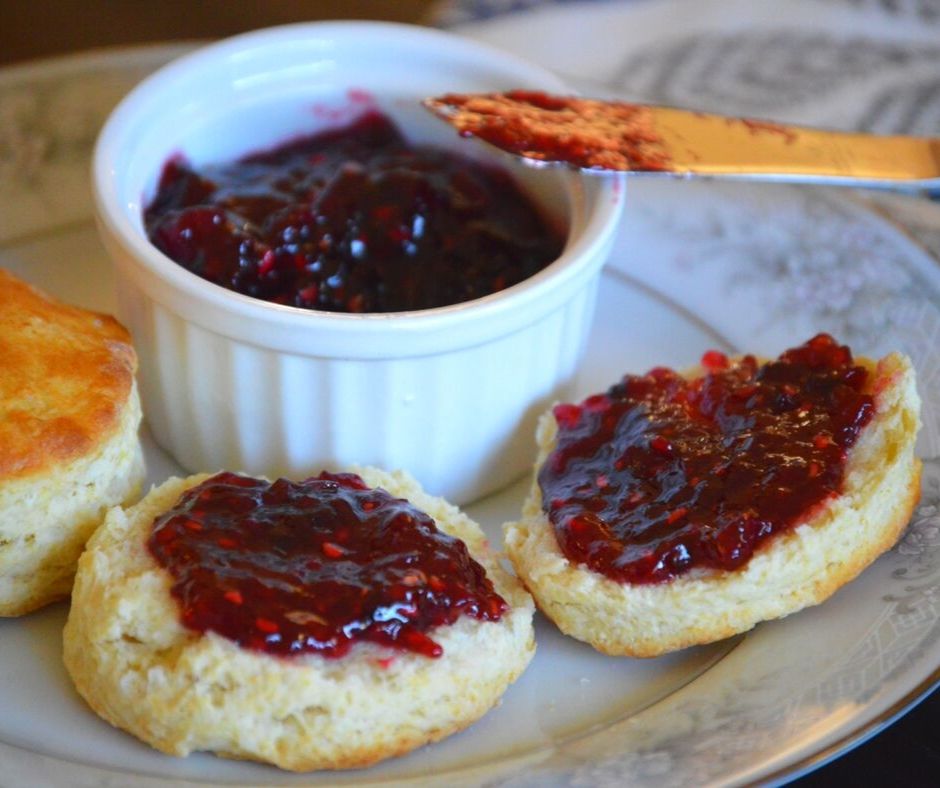
Tips, Tricks, & Suggestions
- Today I am using 16 oz mason jars, however, you can use any sized jars that you prefer or have on hand.
- Feel free to swap out any of the berries we are using today with any other type of berry that you prefer. Or if you only want to use two berries, or even one, then do it. Just make sure that you still use a ratio of 4 cups of berries to 3 cups of sugar, and ½ cup of lemon juice.
- While it’s not completely necessary a candy thermometer can help in determining that the jam is cooked and reached its “setting” temperature.
- You can do a water bath canning with this recipe if you decide to make a large batch or if you plan on storing the jam for longer than 6 months. Here is a link describing how to do it.
Four Berry Jam Recipe
Prep time: 2 minutes
Cook time: 45 minutes
Servings: about 3 cups of jam
Ingredients
1 Cup of each (strawberries, blueberries, raspberries, & blackberries) for a total of 4 cups of berries
3 Cups of sugar
½ Cup of lemon juice
Instructions
- Cook everything: Cut up the strawberries into chunks and add it along with the other berries, sugar, and lemon juice to a medium-large pot and stir it all together.
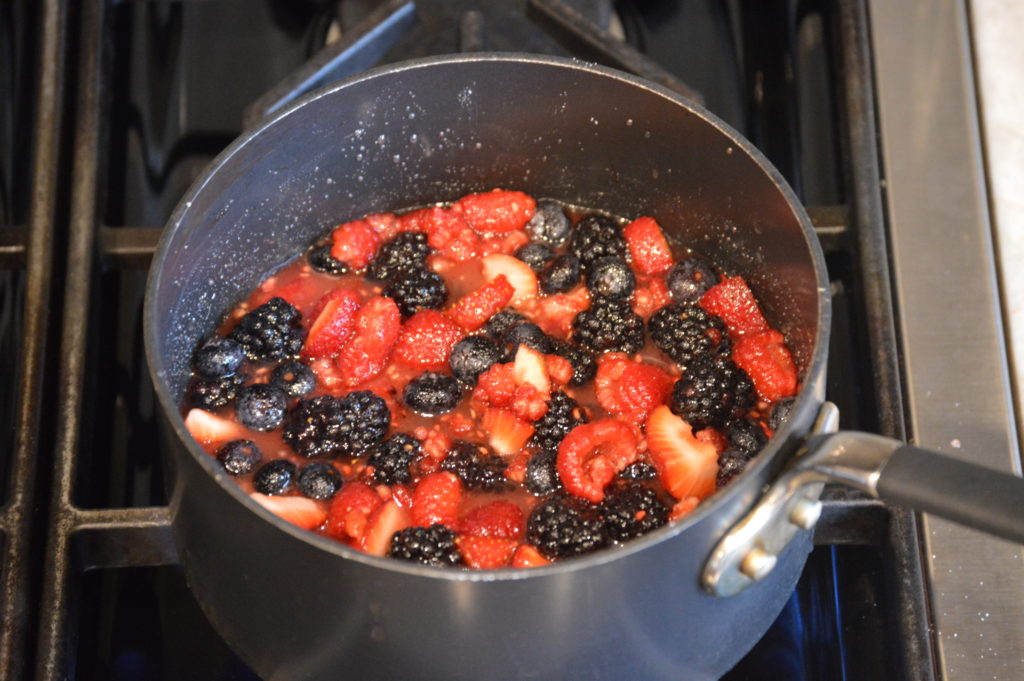 Then place the pot over high heat until it comes to a boil. Once everything comes to a boil lower the heat and let it all simmer for about 30 minutes to an hour making sure to stir the ingredients every 5 to 10 minutes.
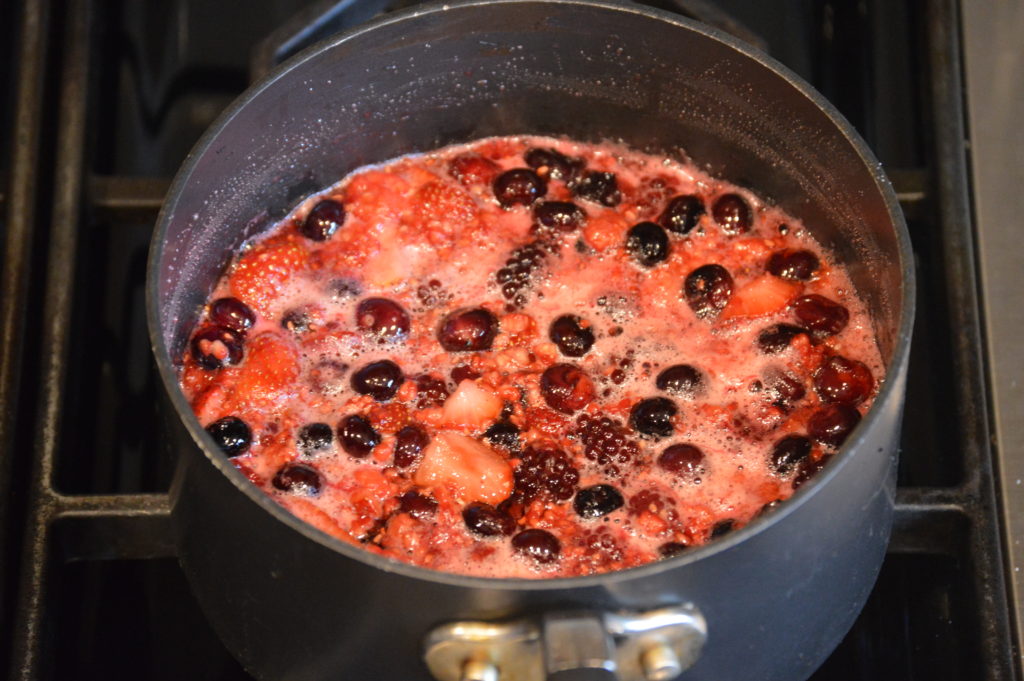
- Prep/sanitize the jars: While the four berry jam is simmering let’s get to prepping/sanitizing our jars. For starters, we will want to set our oven to 250 degrees Fahrenheit. Once it has reached that temperature place the jars on a baking sheet and into the oven for a minimum of 20 minutes.
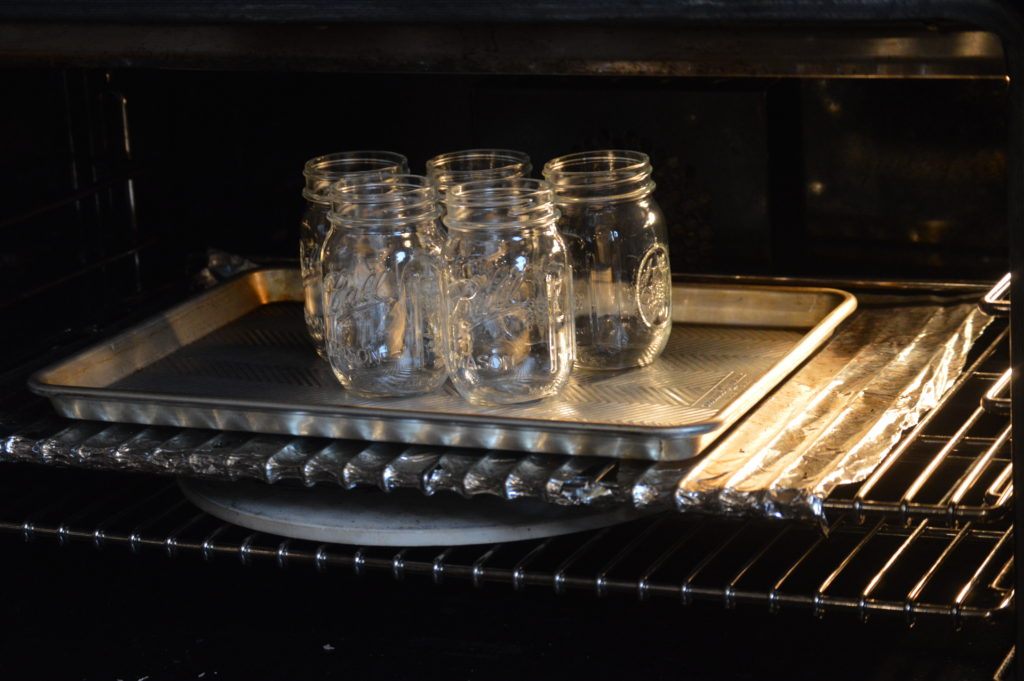 We will also need to sanitize the lids. To do this get out a small bowl and get some water boiling on a kettle. Then place the lids in the bowl and pour the boiling water over them so that they are completely covered with water.
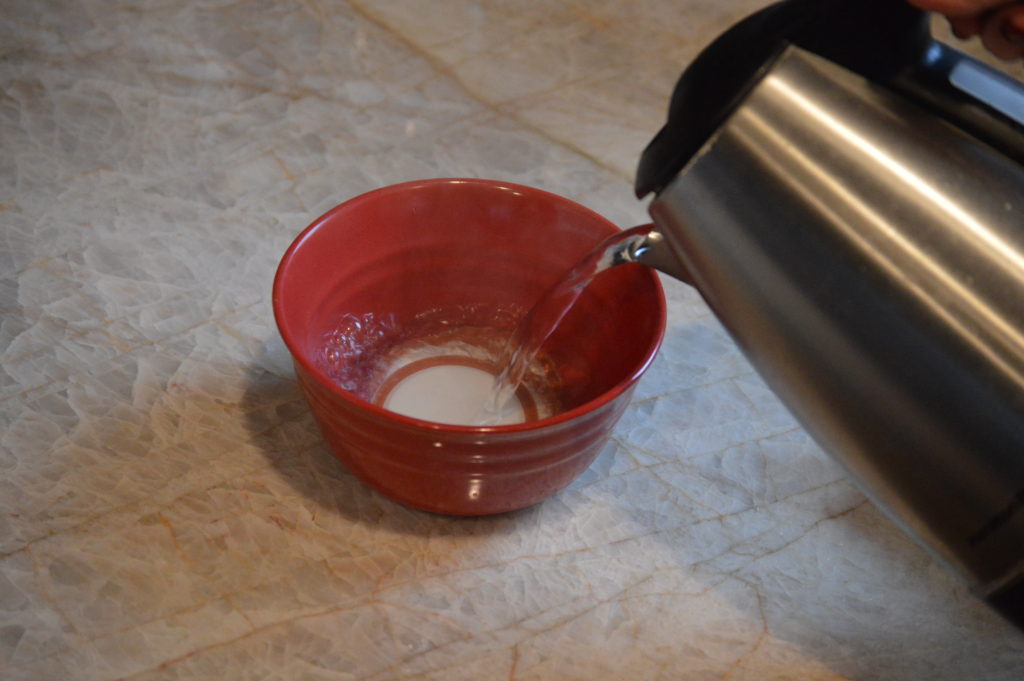 Let this sit for a minimum of 15 minutes.
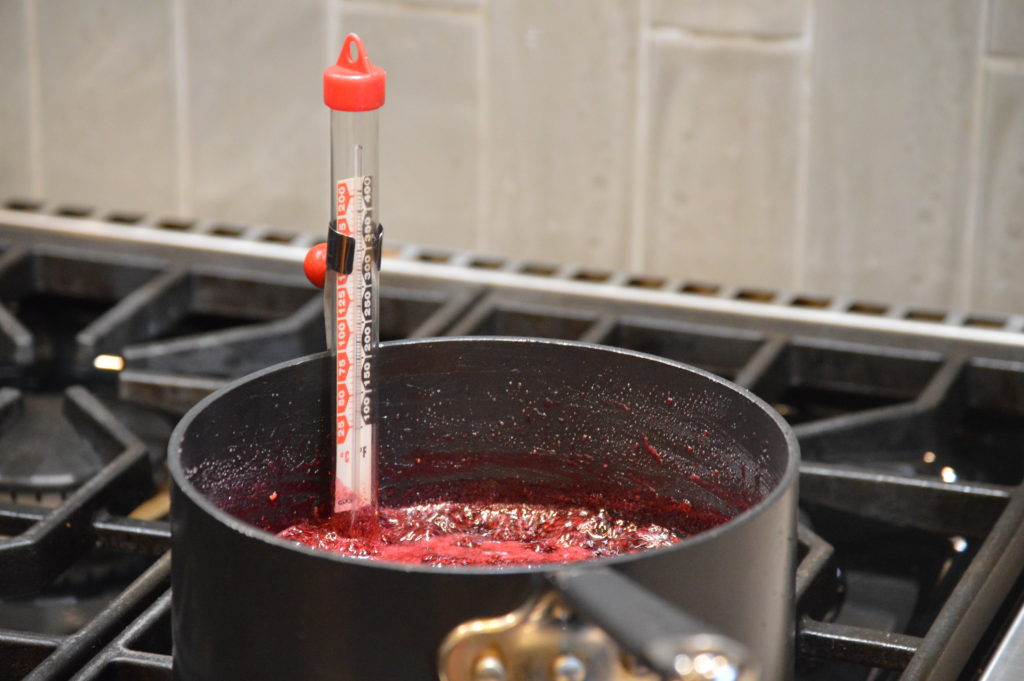
- Test to see if the jam is ready: Now that our jars are sanitized and our jam has been simmering for about 30 minutes it’s time to see if it’s ready to be jarred. There are two ways to do this. First is to place a spoon into the jam, if it sticks to the back and only slowly drips off of the spoon then it should be ready. However, if you are looking for a more scientific way to test the doneness of the jam then simply stick a candy thermometer in it and wait until it reads 220 degrees Fahrenheit.
- Jar the jam: Get out your sanitized jars from the oven and dry off the lids that have been soaking the hot water. Then place a funnel over one of the jars and slowly pour the jam into the jar.
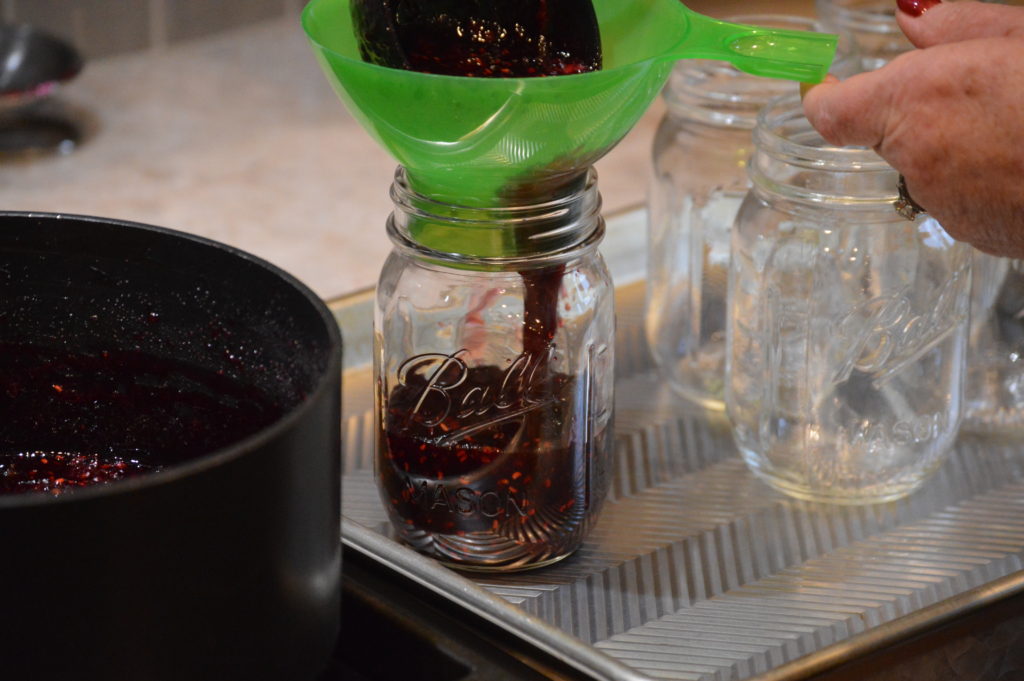 But don’t fill it up all the way, make sure to leave about ½ an inch of space at the top or else the jars might not seal properly. Repeat this step until all of the jam is in jars. Then place the lids on all of the jars and secure them to the jars by screwing on the outer band. Let these sit on your counter until the lids pop down into the jars and are sealed.
- Store the jarred four berry jam in a cold dark place for up to 6 months and use it as needed.

Four Berry Jam Recipe
Equipment
- mason jars
- candy thermometer (optional)
Ingredients
- 1 Cup of each strawberries, blueberries, raspberries, & blackberries for a total of 4 cups of berries
- 3 Cups of sugar
- ½ Cup of lemon juice
Instructions
- Cook everything: Cut up the strawberries into chunks and add it along with the other berries, sugar, and lemon juice to a medium-large pot and stir it all together. Then place the pot over high heat until it comes to a boil. Once everything comes to a boil lower the heat and let it all simmer for about 30 minutes to an hour making sure to stir the ingredients every 5 to 10 minutes.
- Prep/sanitize the jars: While the jam is simmering let’s get to prepping/sanitizing our jars. For starters, we will want to set our oven to 250 degrees Fahrenheit. Once it has reached that temperature place the jars on a baking sheet and into the oven for a minimum of 20 minutes. We will also need to sanitize the lids. To do this get out a small bowl and get some water boiling on a kettle. Then place the lids in the bowl and pour the boiling water over them so that they are completely covered with water. Let this sit for a minimum of 15 minutes.
- Test to see if the jam is ready: Now that our jars are sanitized and our jam has been simmering for about 30 minutes it’s time to see if it’s ready to be jarred. There are two ways to do this. First is to place a spoon into the jam, if it sticks to the back and only slowly drips off of the spoon then it should be ready. However, if you are looking for a more scientific way to test the doneness of the jam then simply stick a candy thermometer in it and wait until it reads 220 degrees Fahrenheit.
- Jar the jam: Get out your sanitized jars from the oven and dry off the lids that have been soaking the hot water. Then place a funnel over one of the jars and slowly pour the jam into the jar. But don’t fill it up all the way, make sure to leave about ½ an inch of space at the top or else the jars might not seal properly. Repeat this step until all of the jam is in jars. Then place the lids on all of the jars and secure them to the jars by screwing on the outer band. Let these sit on your counter until the lids pop down into the jars and are sealed.
- Store the jarred four berry jam in a cold dark place for up to 6 months and use it as needed.
Inspiration from other blogs
From Chocolate Moosey
From Veena Azmanov


